前言
最近在学习PHP程序分析,在正式学习之前,需要先搭个环境来生成程序分析所需要的图数据库。
参考手册
| 文档 | 链接 |
|---|---|
| phpjoern工具 | https://github.com/malteskoruppa/phpjoern |
| joern工具 | https://github.com/octopus-platform/joern |
| joern文档 | https://joern.readthedocs.io/ |
| batch-import工具 | https://github.com/jexp/batch-import |
| neo4j文档 | https://neo4j.com/docs/ |
| PHP-Parser | https://github.com/nikic/PHP-Parser/ |
| PHP-Parser中AST相关文档 | https://github.com/nikic/PHP-Parser/tree/master/doc |
| php-ast-visualizer可视化工具 | https://github.com/ircmaxell/php-ast-visualizer |
后面两个可以帮助我们了解AST结构。
环境安装
下面是安装时的环境:
OS : Ubuntu16.04-LTS
PHP : 7.0
Python : 3.5
JAVA : 1.8.0_282
Neo4j : neo4j-community-3.1.2-unix.tar
php-ast : commit=701e8539e0a861b8fe3c0144a7554c376f42efe3
phpjoern : git clone即可
joern : git clone即可
其中neo4j的版本不需要太高,整个安装过程一定要好好参考官方手册:
依赖安装
首先先安装一下必要的依赖:
1 | sudo apt install php |
安装的php版本是7.0。
clone phpjoern
我们不需要对phpjoern进行什么编译操作,只需要git clone下来即可:
1 | git clone https://github.com/malteskoruppa/phpjoern.git |
安装php-ast
项目地址:https://github.com/nikic/php-ast
1 | git clone https://github.com/nikic/php-ast |
最后将extension=ast.so添加到php.ini文件中,我这里是/etc/php/7.0/cli/php.ini。
我们需要将php-ast的版本先回退到下图这个版本:

原因是因为https://github.com/octopus-platform/joern 和 https://github.com/malteskoruppa/phpjoern 都已经停止维护更新了,而php-ast还在持续更新,所以安装最新版的php-ast会出现兼容性问题。
安装完成后,看看是不是能成功解析php代码:
1 | sec@ubuntu:~/PHPJoern/phpjoern$ ls |
尝试用phpjoern/php2ast将php代码转成ast:
1 | sec@ubuntu:~/PHPJoern/phpjoern$ ./php2ast a.php |
成功解析,并且生成了文件nodes.csv(存储AST结点信息)和rels.csv(存储结点之间的关系边,比如控制流相关的FLOWS_TO,数据流相关的REACHES)。
安装joern
接下来我们需要使用Joern来生成代码属性图,即Code Property Graph,它将利用php-ast生成的nodes.csv和rels.csv文件来合成CPG。安装步骤很简单:
1 | git clone https://github.com/octopus-platform/joern |
编译时发生了错误:
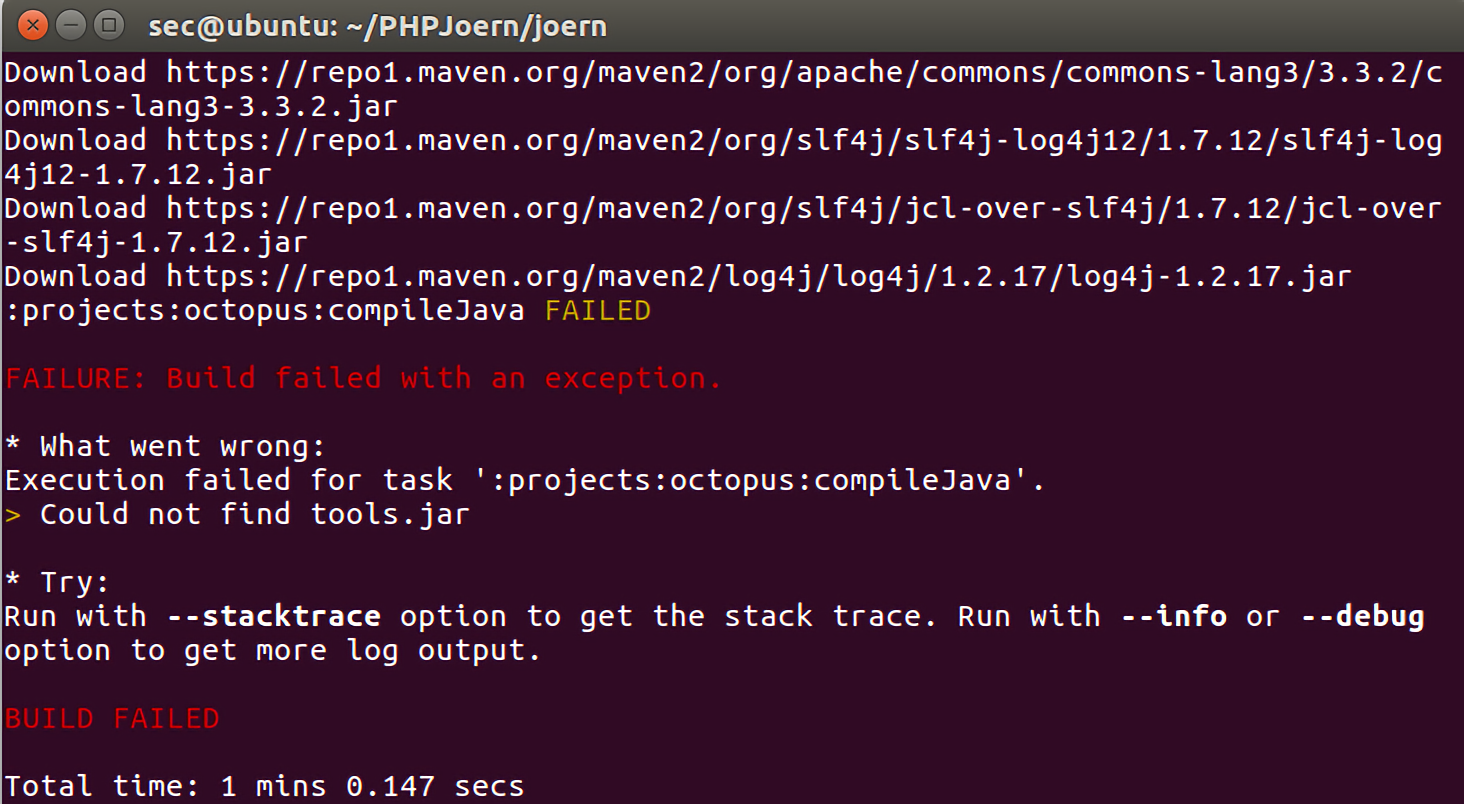
1 | * What went wrong: |
错误原因是Could not find tools.jar。在网上找到这篇文章:https://stackoverflow.com/questions/31989122/gradle-could-not-find-tools-jar
我的java版本是8,所以安装openjdk-8-jdk即可:
1 | sudo apt-get install openjdk-8-jdk |
重新sudo gradle build,结果还是报错了,报错的原因是因为:

查看相关的report,说是有test没有通过,google搜索testDefUseCFGPatcher,看到一篇这样的文章:https://github.com/octopus-platform/joern/issues/148
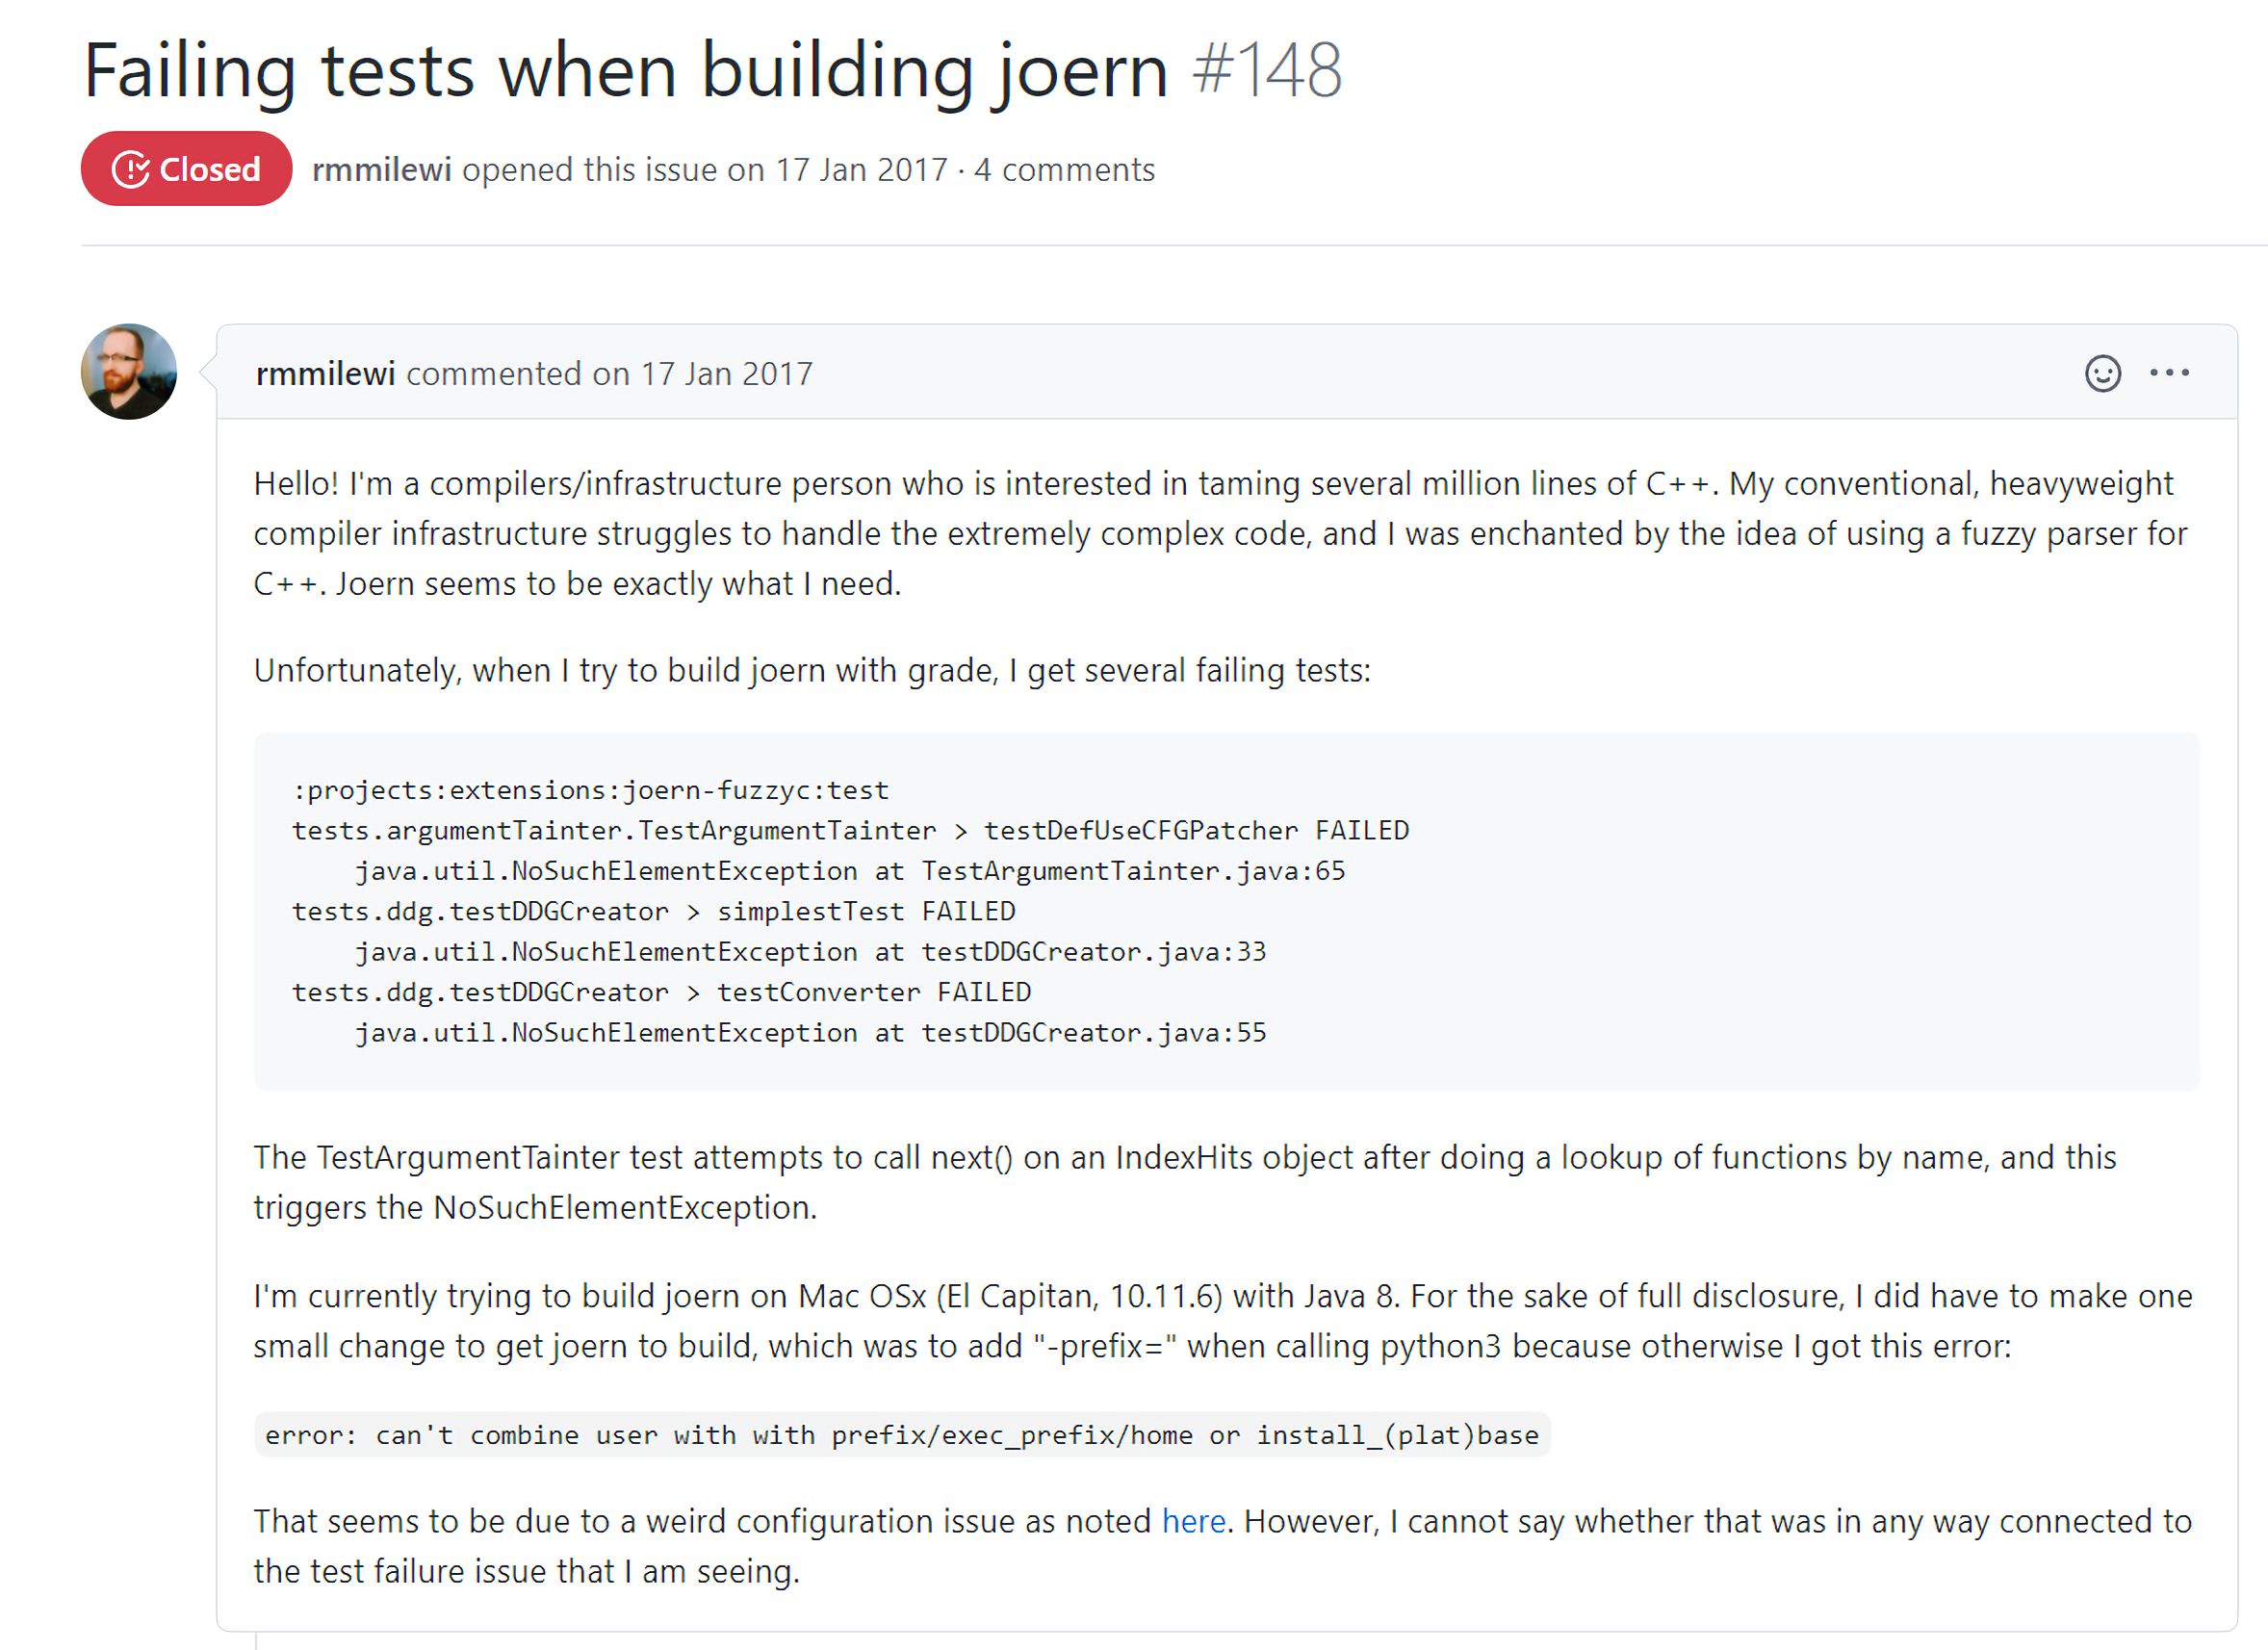
他遇到的问题和我一样,底下的有一条解答提到了错误的原因:
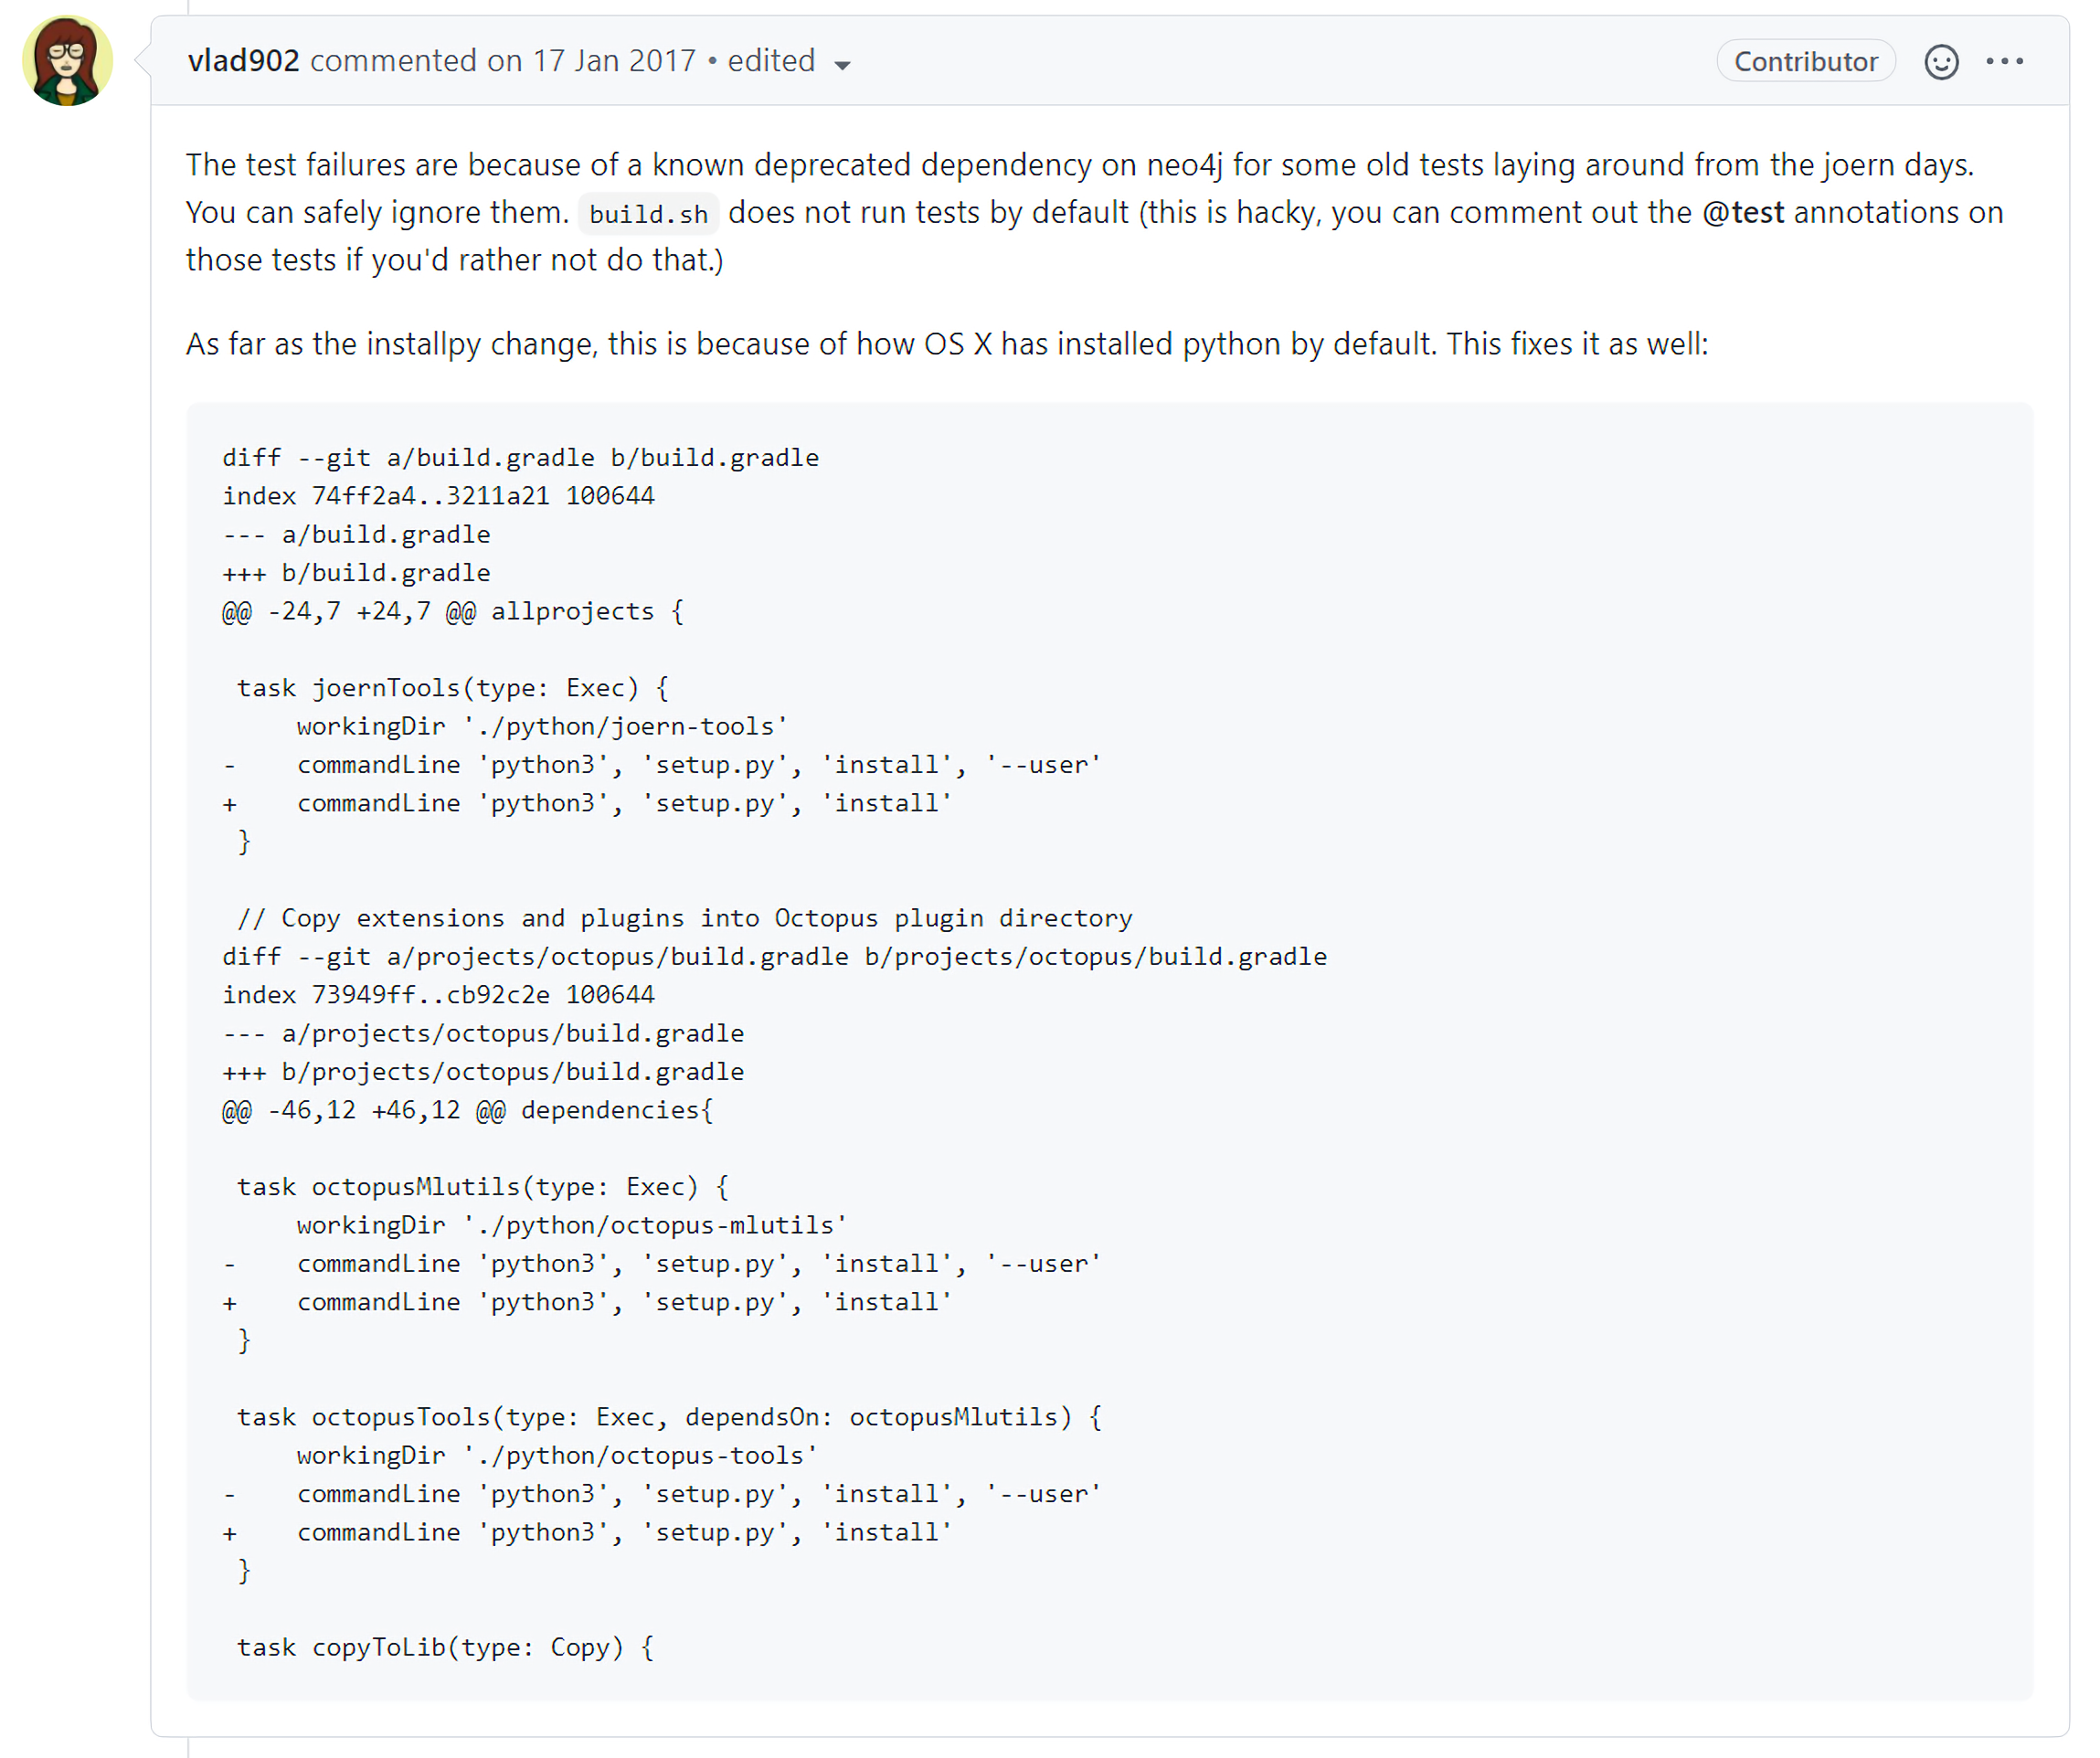
测试失败的原因是,一些旧测试对neo4j的依赖已经被废弃了,这些测试是可以被废弃的。在默认情况下,使用build.sh不会运行这些测试。
1 | sudo ./build.sh |
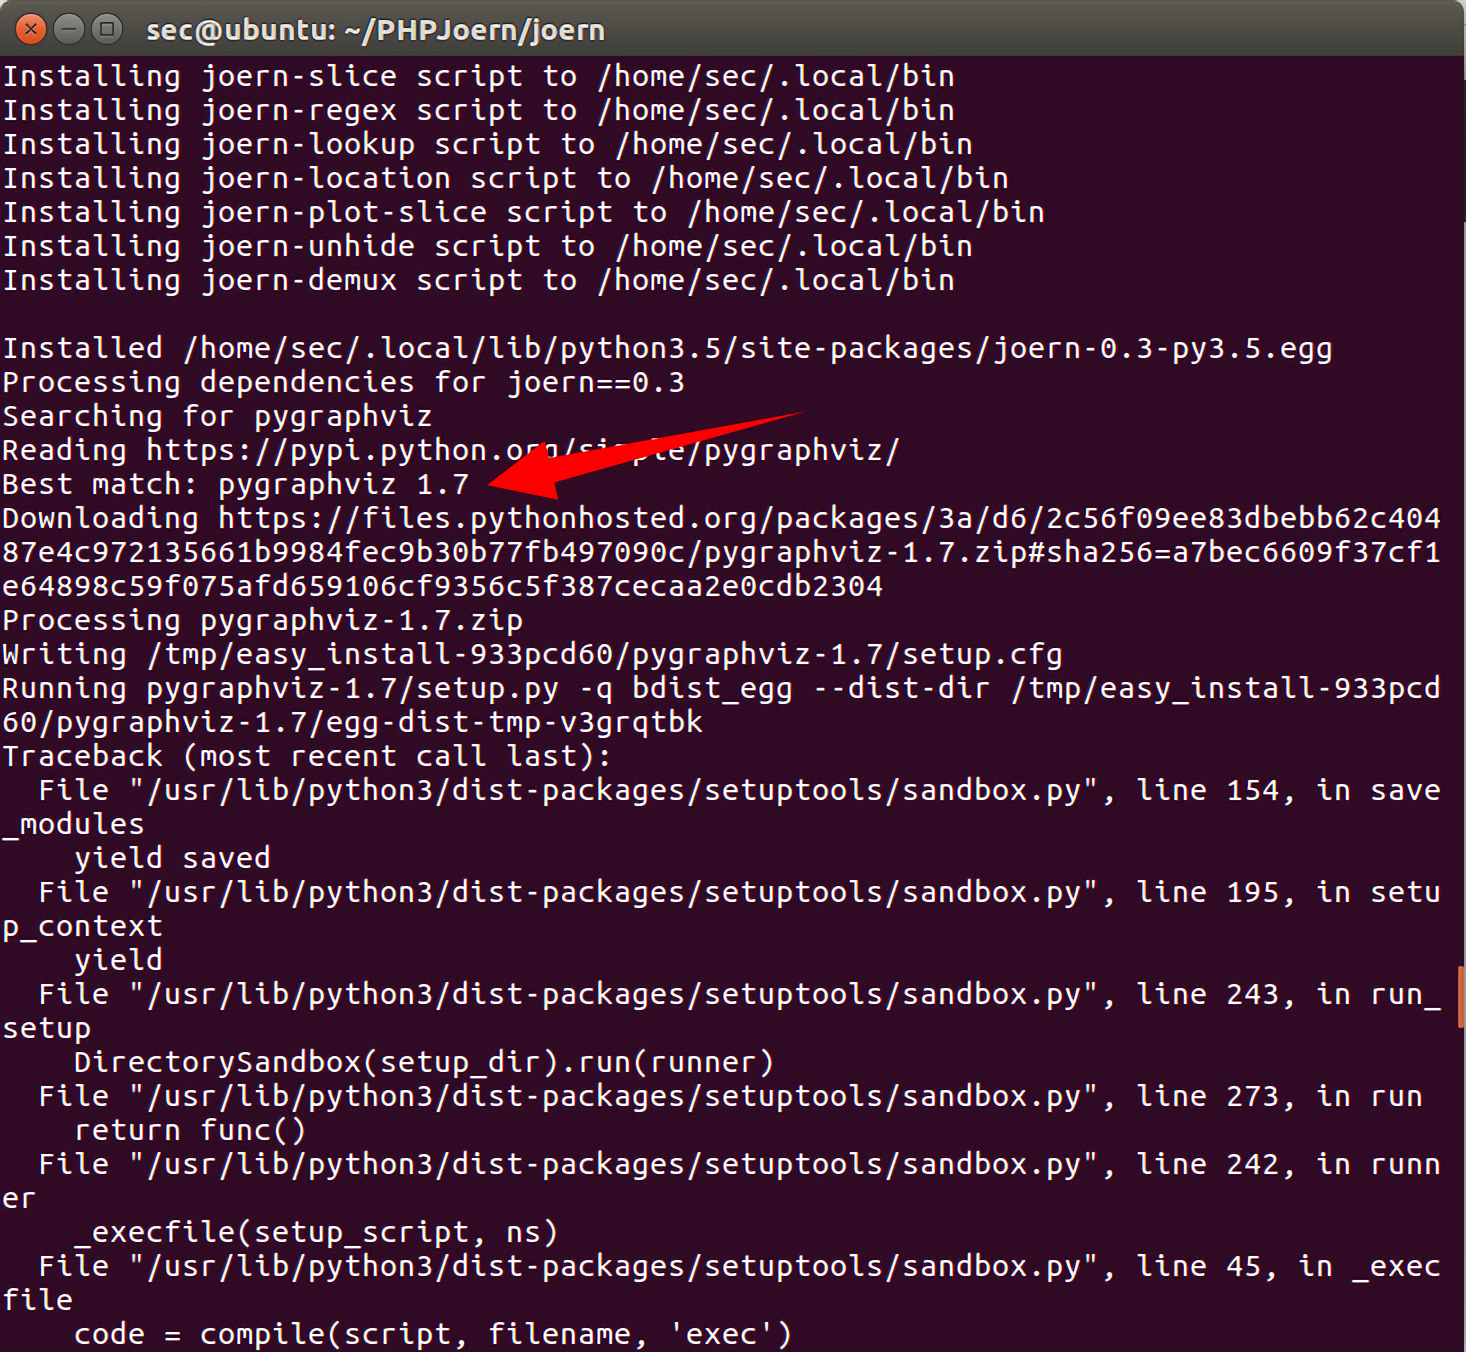
在build到90%+的时候停下来了。报错原因是:
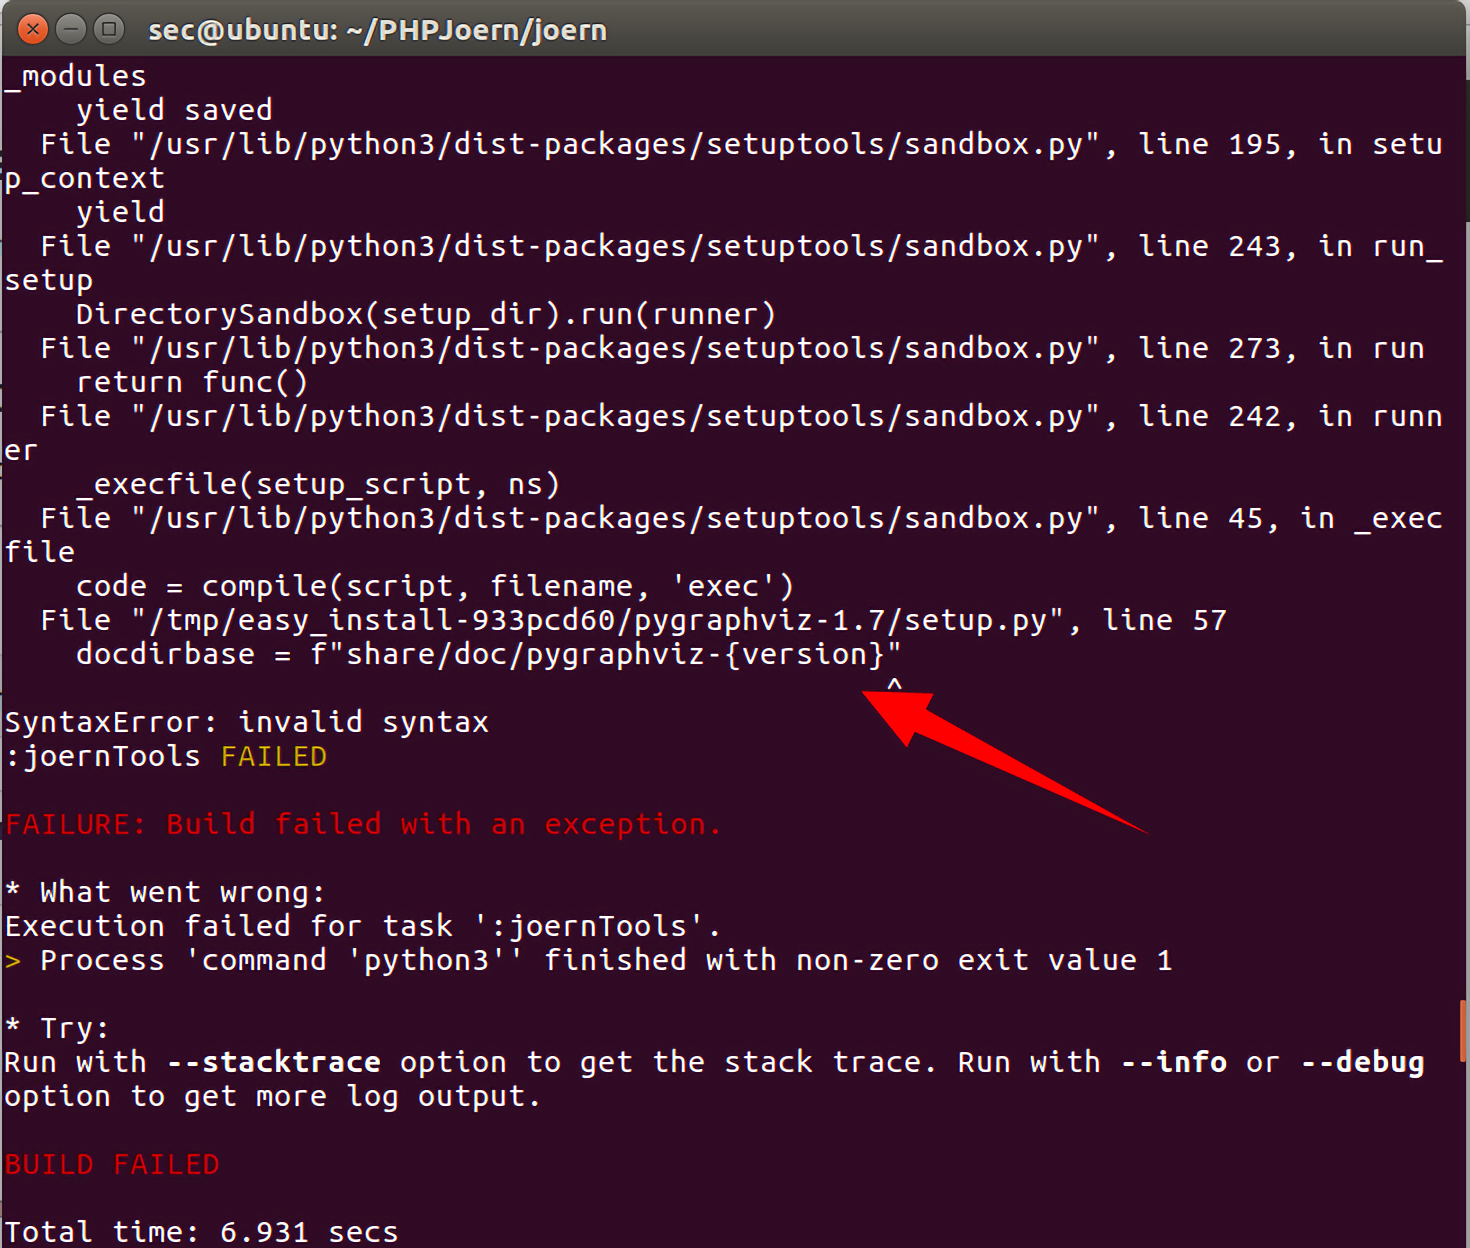
执行到这里发现是语法错误。往前查看可以看到安装python库pygraphviz的版本是1.7:
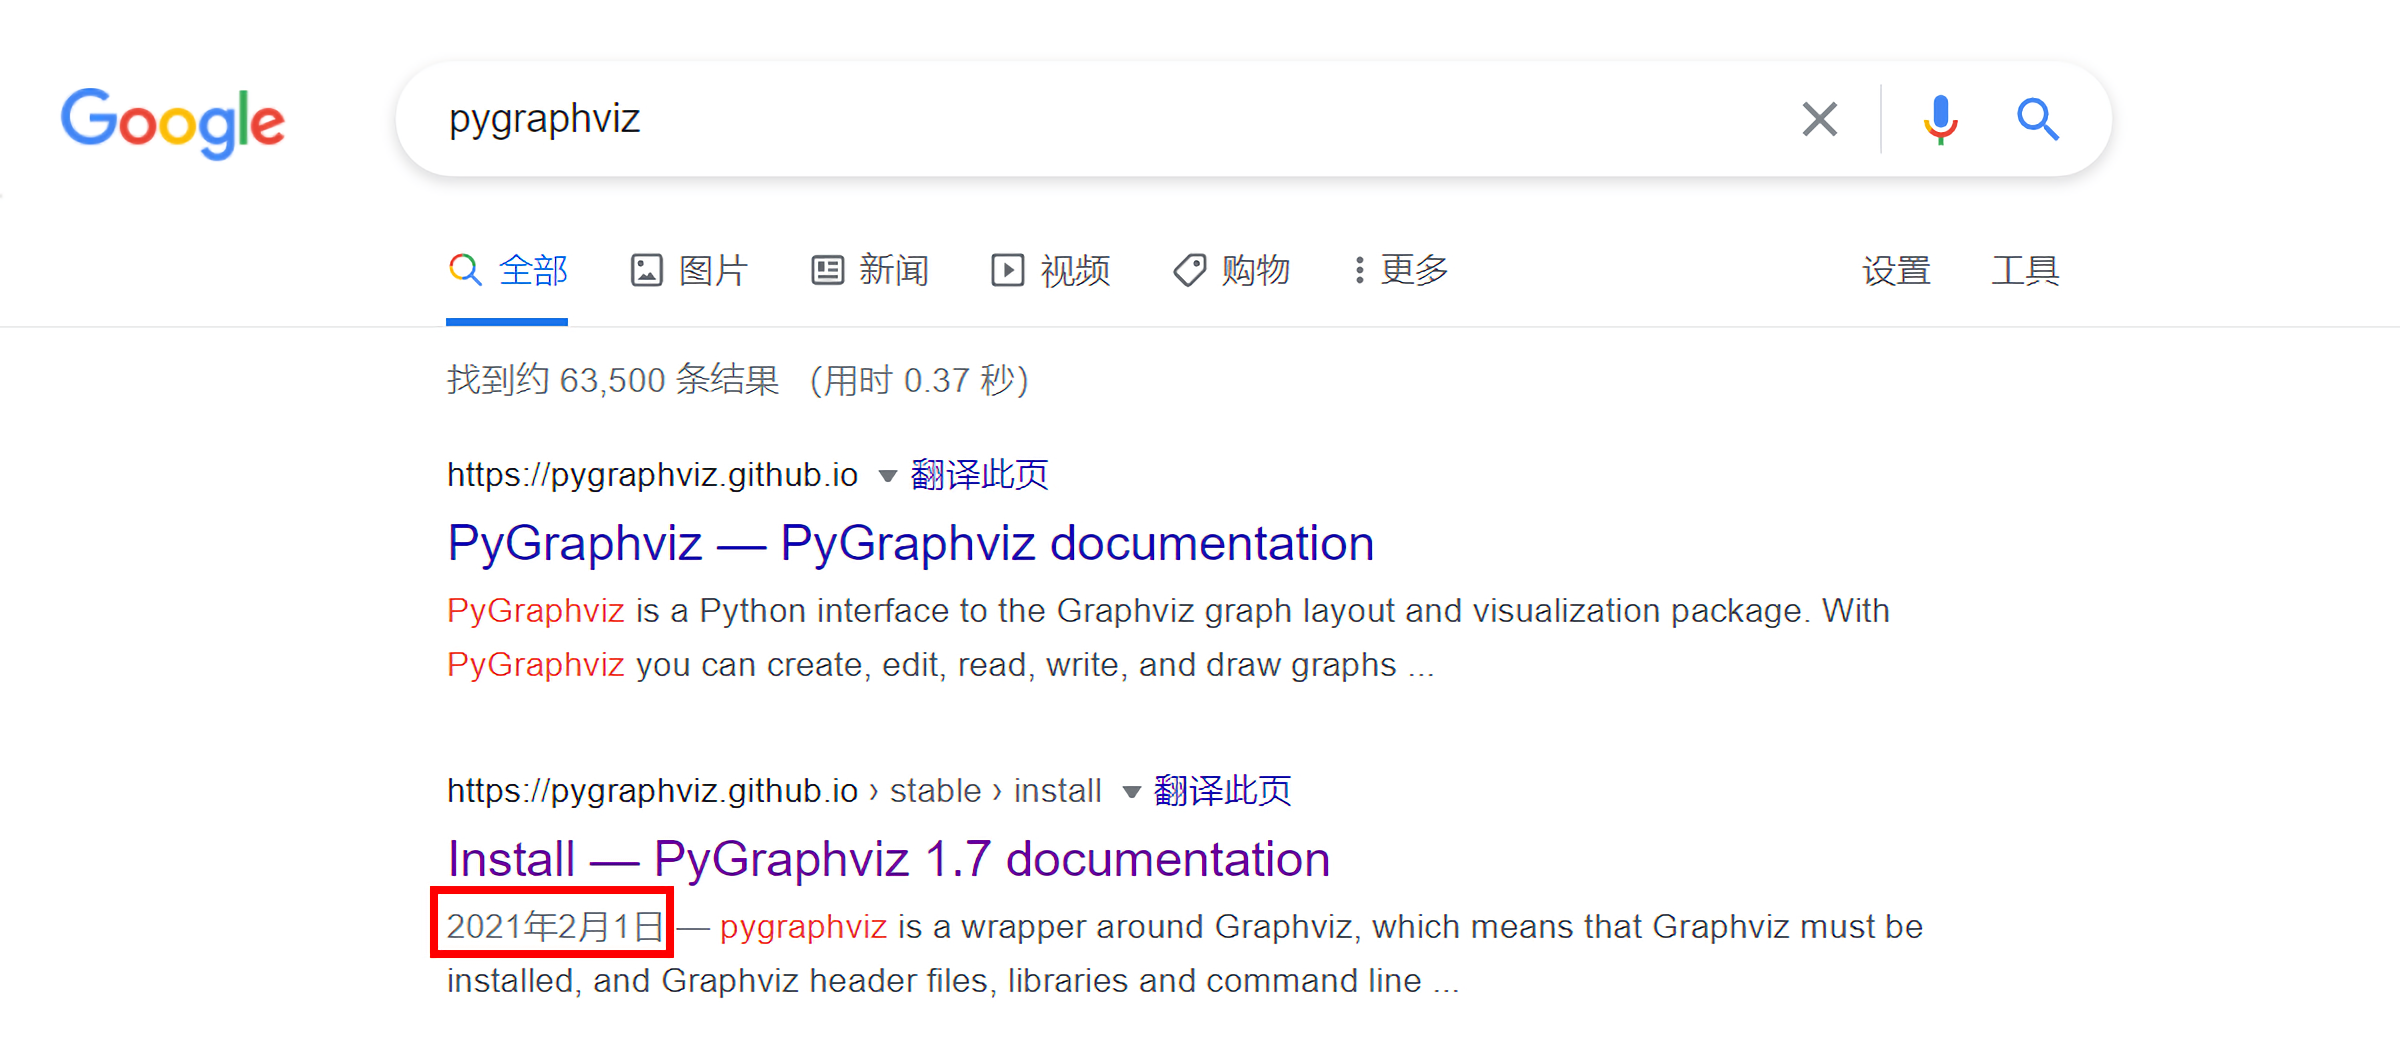
google一下发现最新的1.7版本的pygraphviz库是2021年更新的:
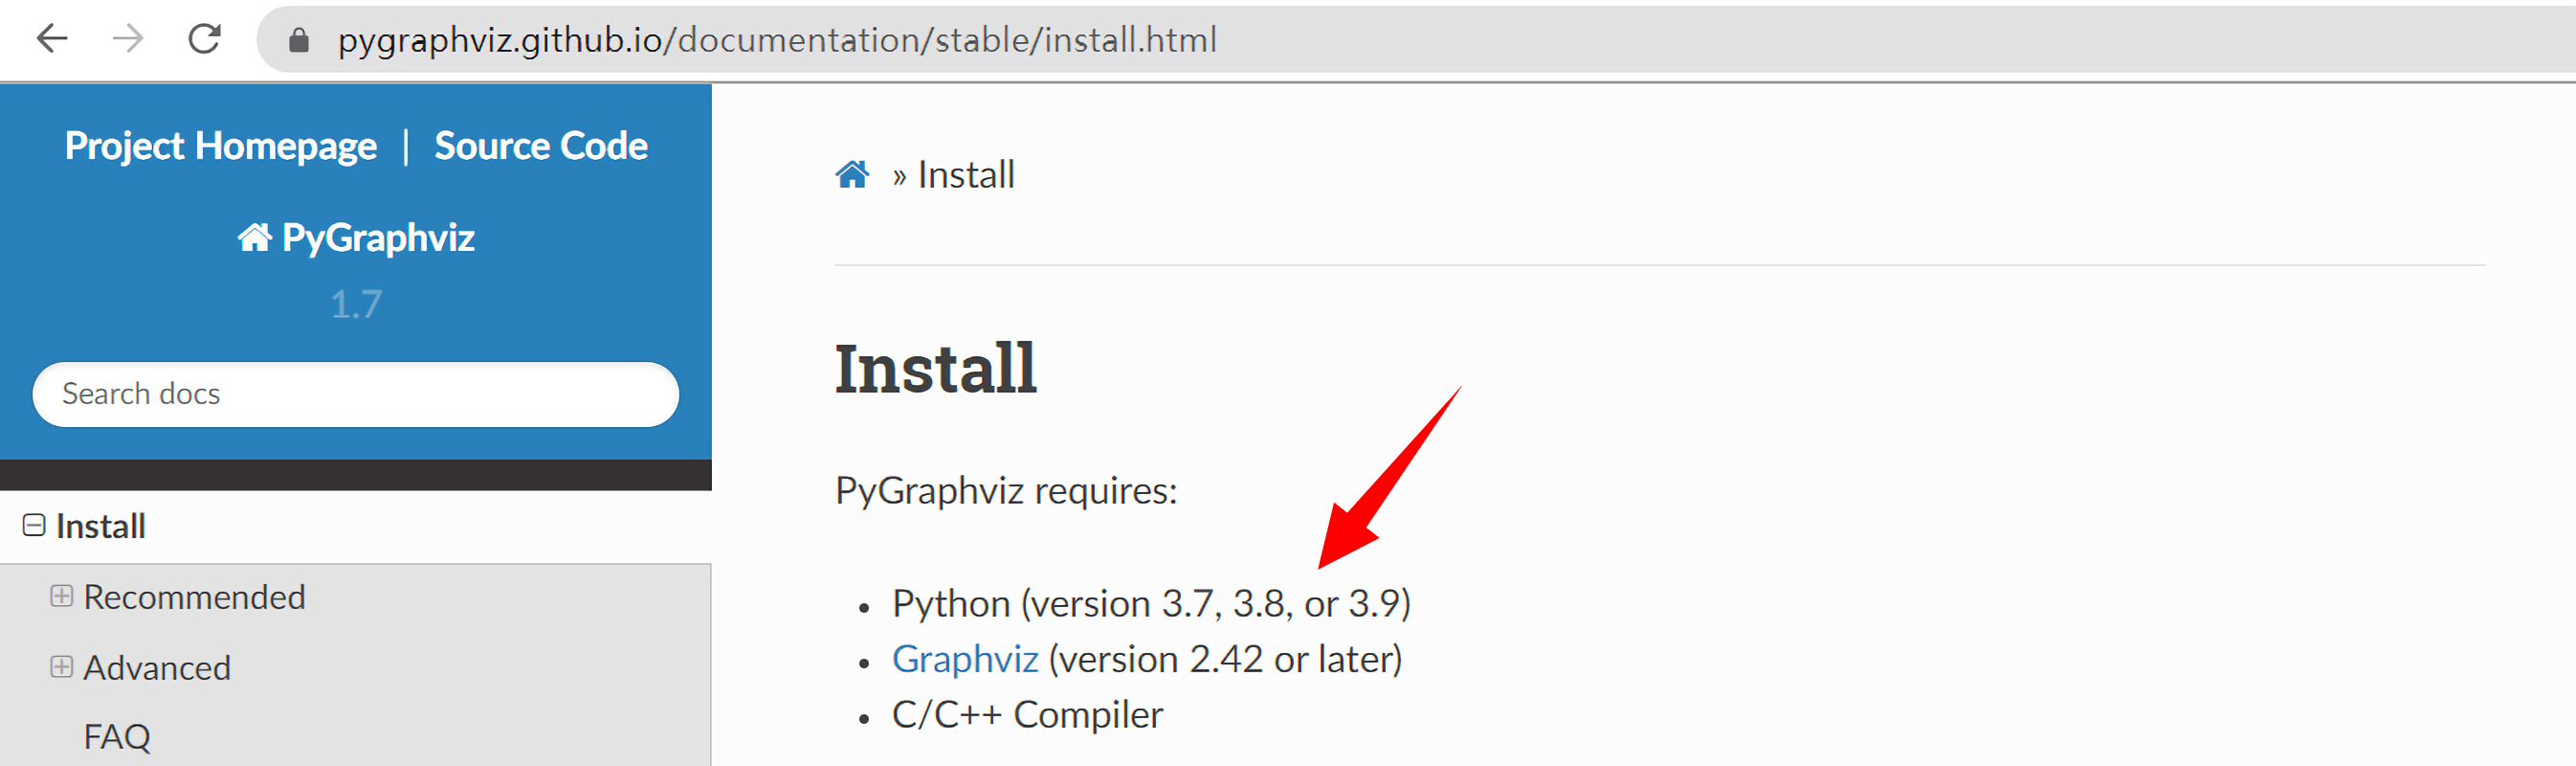
要求python版本至少为3.7:
但是我的python环境却是3.5:

如果我直接单单安装这个包也会报相同的错误:
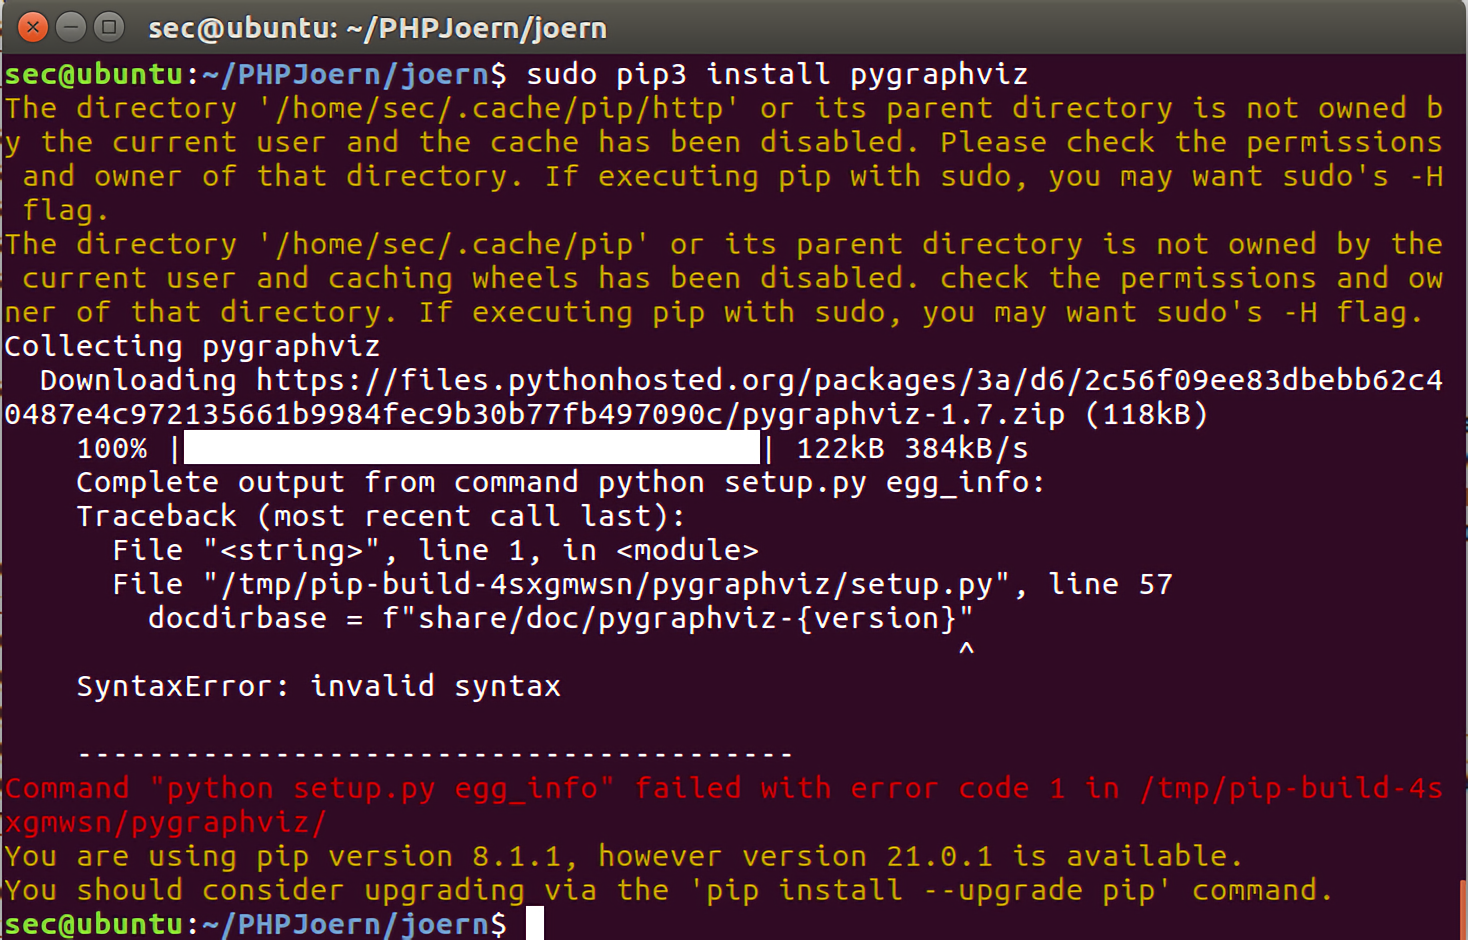
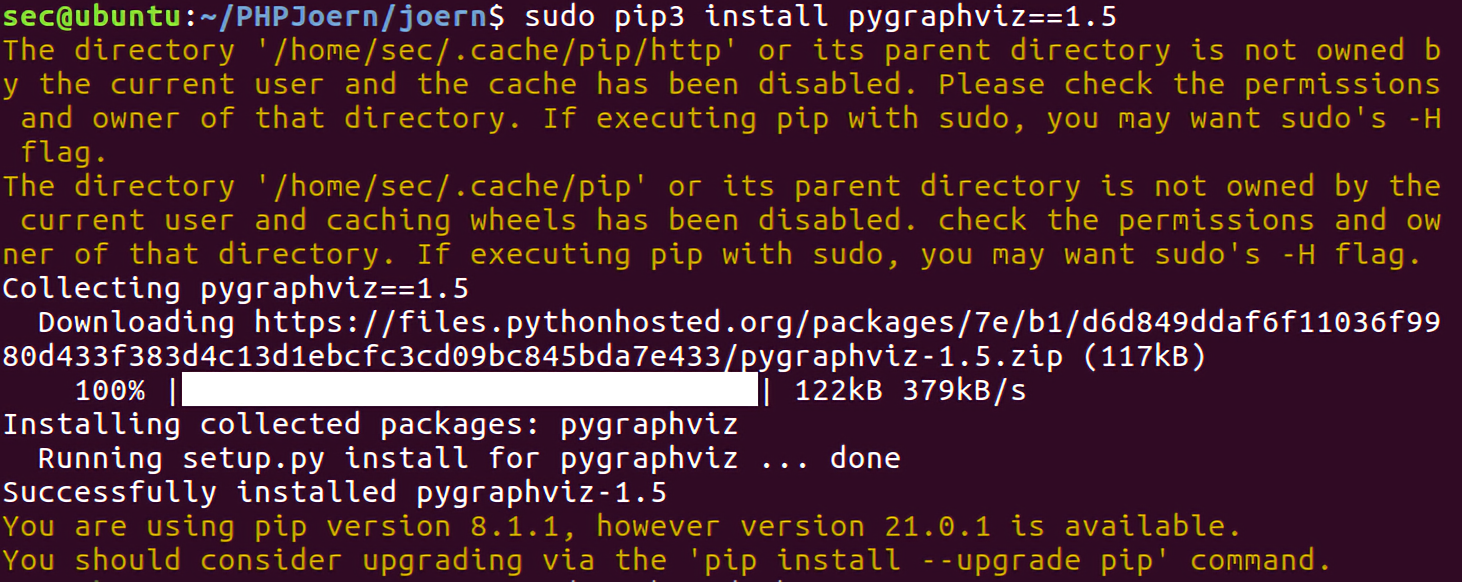
所以安装失败,现在问题已经找到了,所以我们安装低版本的pygraphviz就可以解决这个问题(应该也可以安装1.6的,尝试下就知道了):
1 | sudo apt-get install -y graphviz-dev |
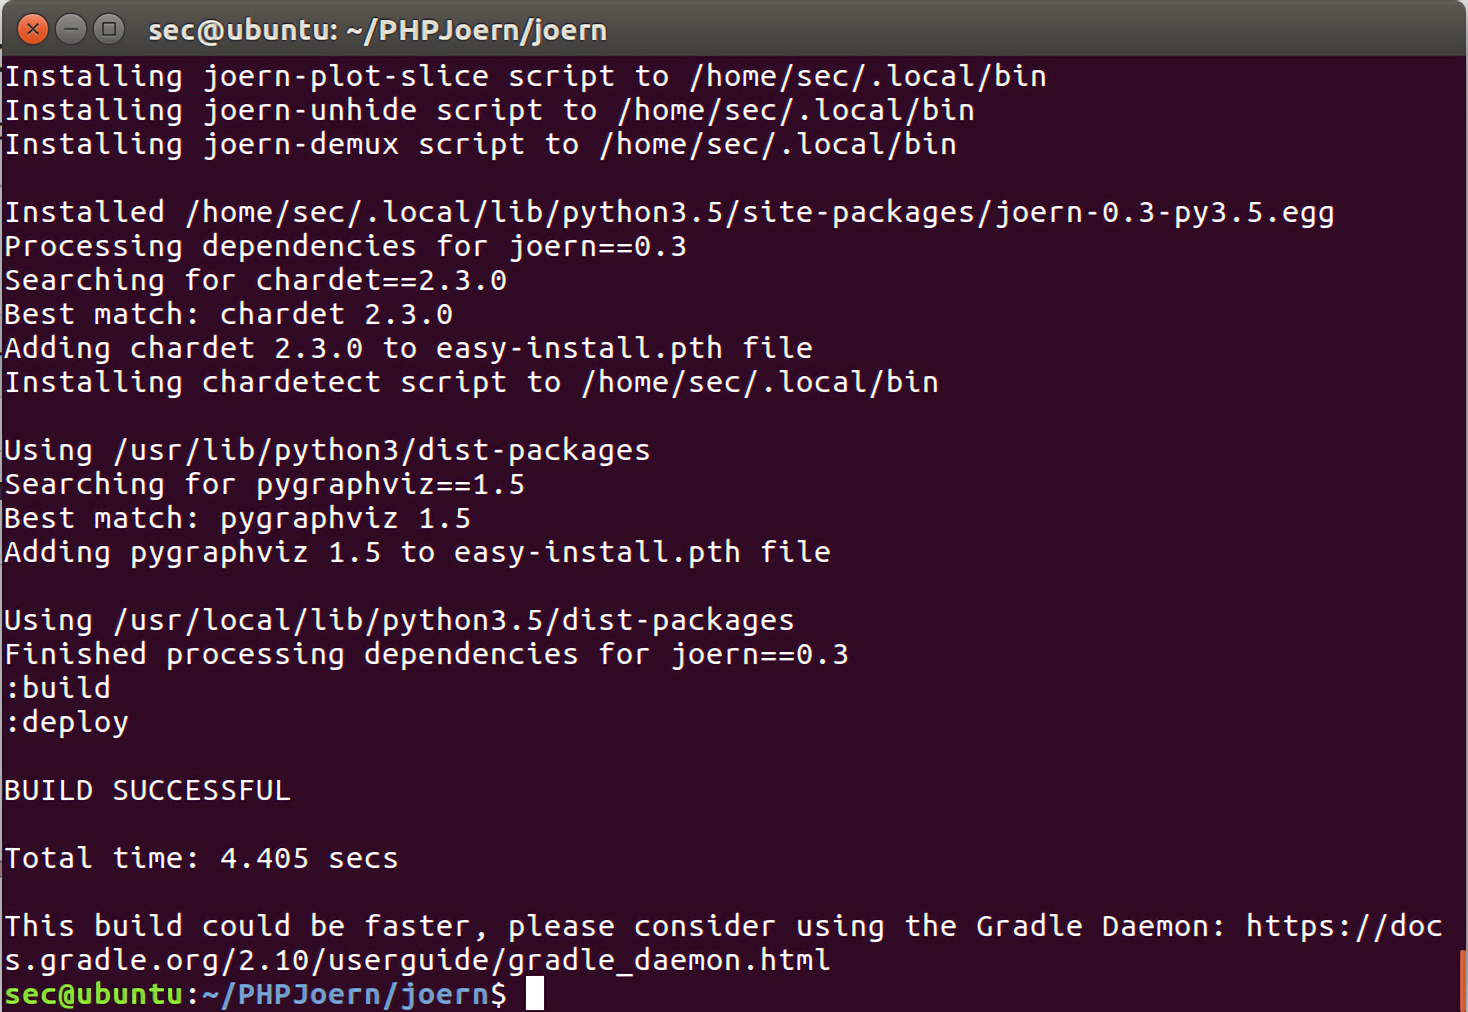
最后重新执行sudo ./build.sh,成功:
编译完成后,我们就可以使用joern/phpast2cpg来生成代码属性图了:
1 | ./phpast2cpg nodes.csv rels.csv |
输出文件为cpg_edges.csv。
安装batch-importer
在大多情况下,我们还需要一个可视化环境来帮助我们更好地分析代码属性图,所以可以使用batch-importer来将nodes.csv,rels.csv和cpg_edges.csv导入neo4j数据库中。
官方手册中给出的导入方法是:
1 | mkdir batch-import |
但是上面的链接好像失效了,所以batch_importer_21.zip文件还需要我们去别的地方收集。
导入的语法如下面两行所示:
1 | HEAP=6G |
我们在使用的时候需要修改的地方有:
$JEXP_HOME:是我们的
batch_import所在的绝对路径$PHPJOERN_HOME:是解析工具
phpjoern所在的绝对路径graph.db:你需要生成的db的名称,由你自己指定
$HEAP:堆大小决定了导入的性能,最后是大于4GB,这样效果更好,当然如果你有更多的空间,那就可以根据你自己的实际情况分配更多的堆空间,这样就能得到更好的导入性能。
一键自动化导入脚本
下面是一键自动化脚本,可以根据自己的需要修改:
1 | !/bin/bash |
Neo4j
Neo4j是一个高性能的,NOSQL图形数据库,它将结构化数据存储在网络上而不是表中。它是一个嵌入式的、基于磁盘的、具备完全的事务特性的Java持久化引擎,但是它将结构化数据存储在网络(从数学角度叫做图)上而不是表中。Neo4j也可以被看作是一个高性能的图引擎,该引擎具有成熟数据库的所有特性。程序员工作在一个面向对象的、灵活的网络结构下而不是严格、静态的表中——但是他们可以享受到具备完全的事务特性、企业级的数据库的所有好处。
Neo4j配置
编辑conf/neo4j.conf文件,先配置好数据库文件
1 | The name of the database to mount |
注意[your_databases_dir]下我们还需要创建一个名为databases的目录,最后我们生成的db要放在
[your_databases_dir]/databases目录下,neo4j会根据conf中的描述自动拼接[your_databases_dir]和databases目录为[your_databases_dir]/databases。
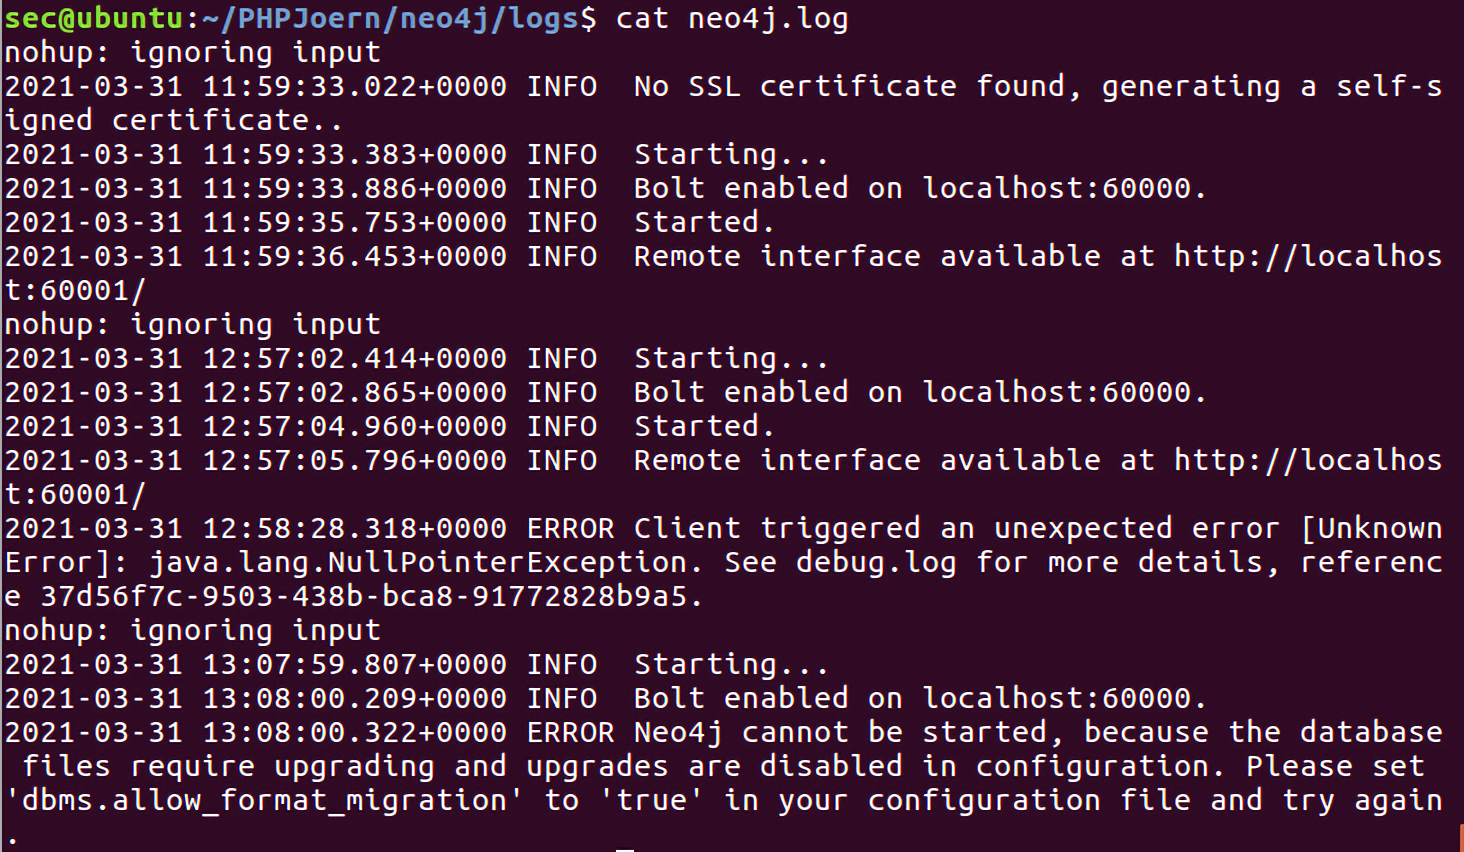
将更新设置dbms.allow_format_migration设为true:
1 | Whether requests to Neo4j are authenticated. |
否则会出现无妨访问的情况,此时要学会查看log,log中就告诉我们需要修改dbms.allow_format_migration=true:
去掉前面的注释#,分配端口:
1 | Bolt connector |
如果需要远程访问neo4j数据库的话,记得将下面的注释去掉:
1 | dbms.connectors.default_listen_address=0.0.0.0 |
然后运行./bin/neo4j启动neo4j数据库。neo4j的初始账号密码是neo4j : neo4j,登录后可以自己修改账号密码。
Neo4j浏览器端
conf/neo4j.conf文件中的http相关配置dbms.connector.http.listen_address=:4747就是浏览器端访问的路径。启动neo4j数据库之后,也可以在返回的信息中看到:
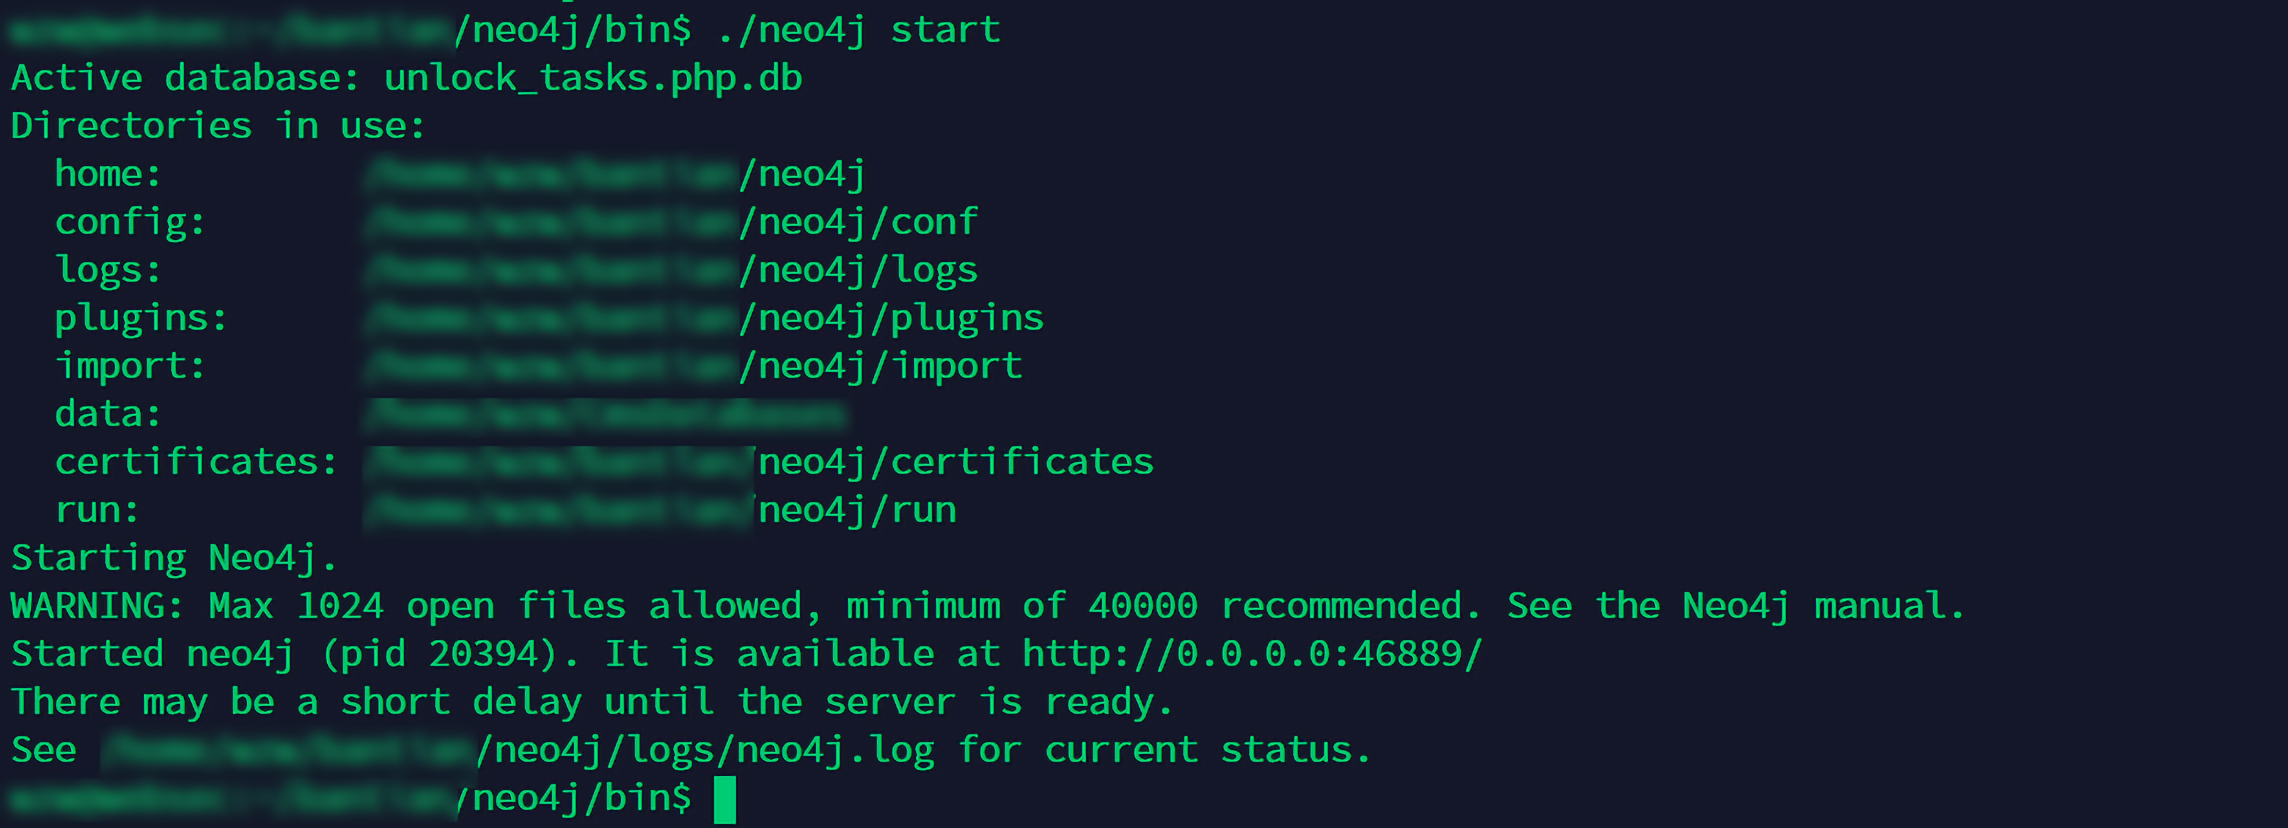
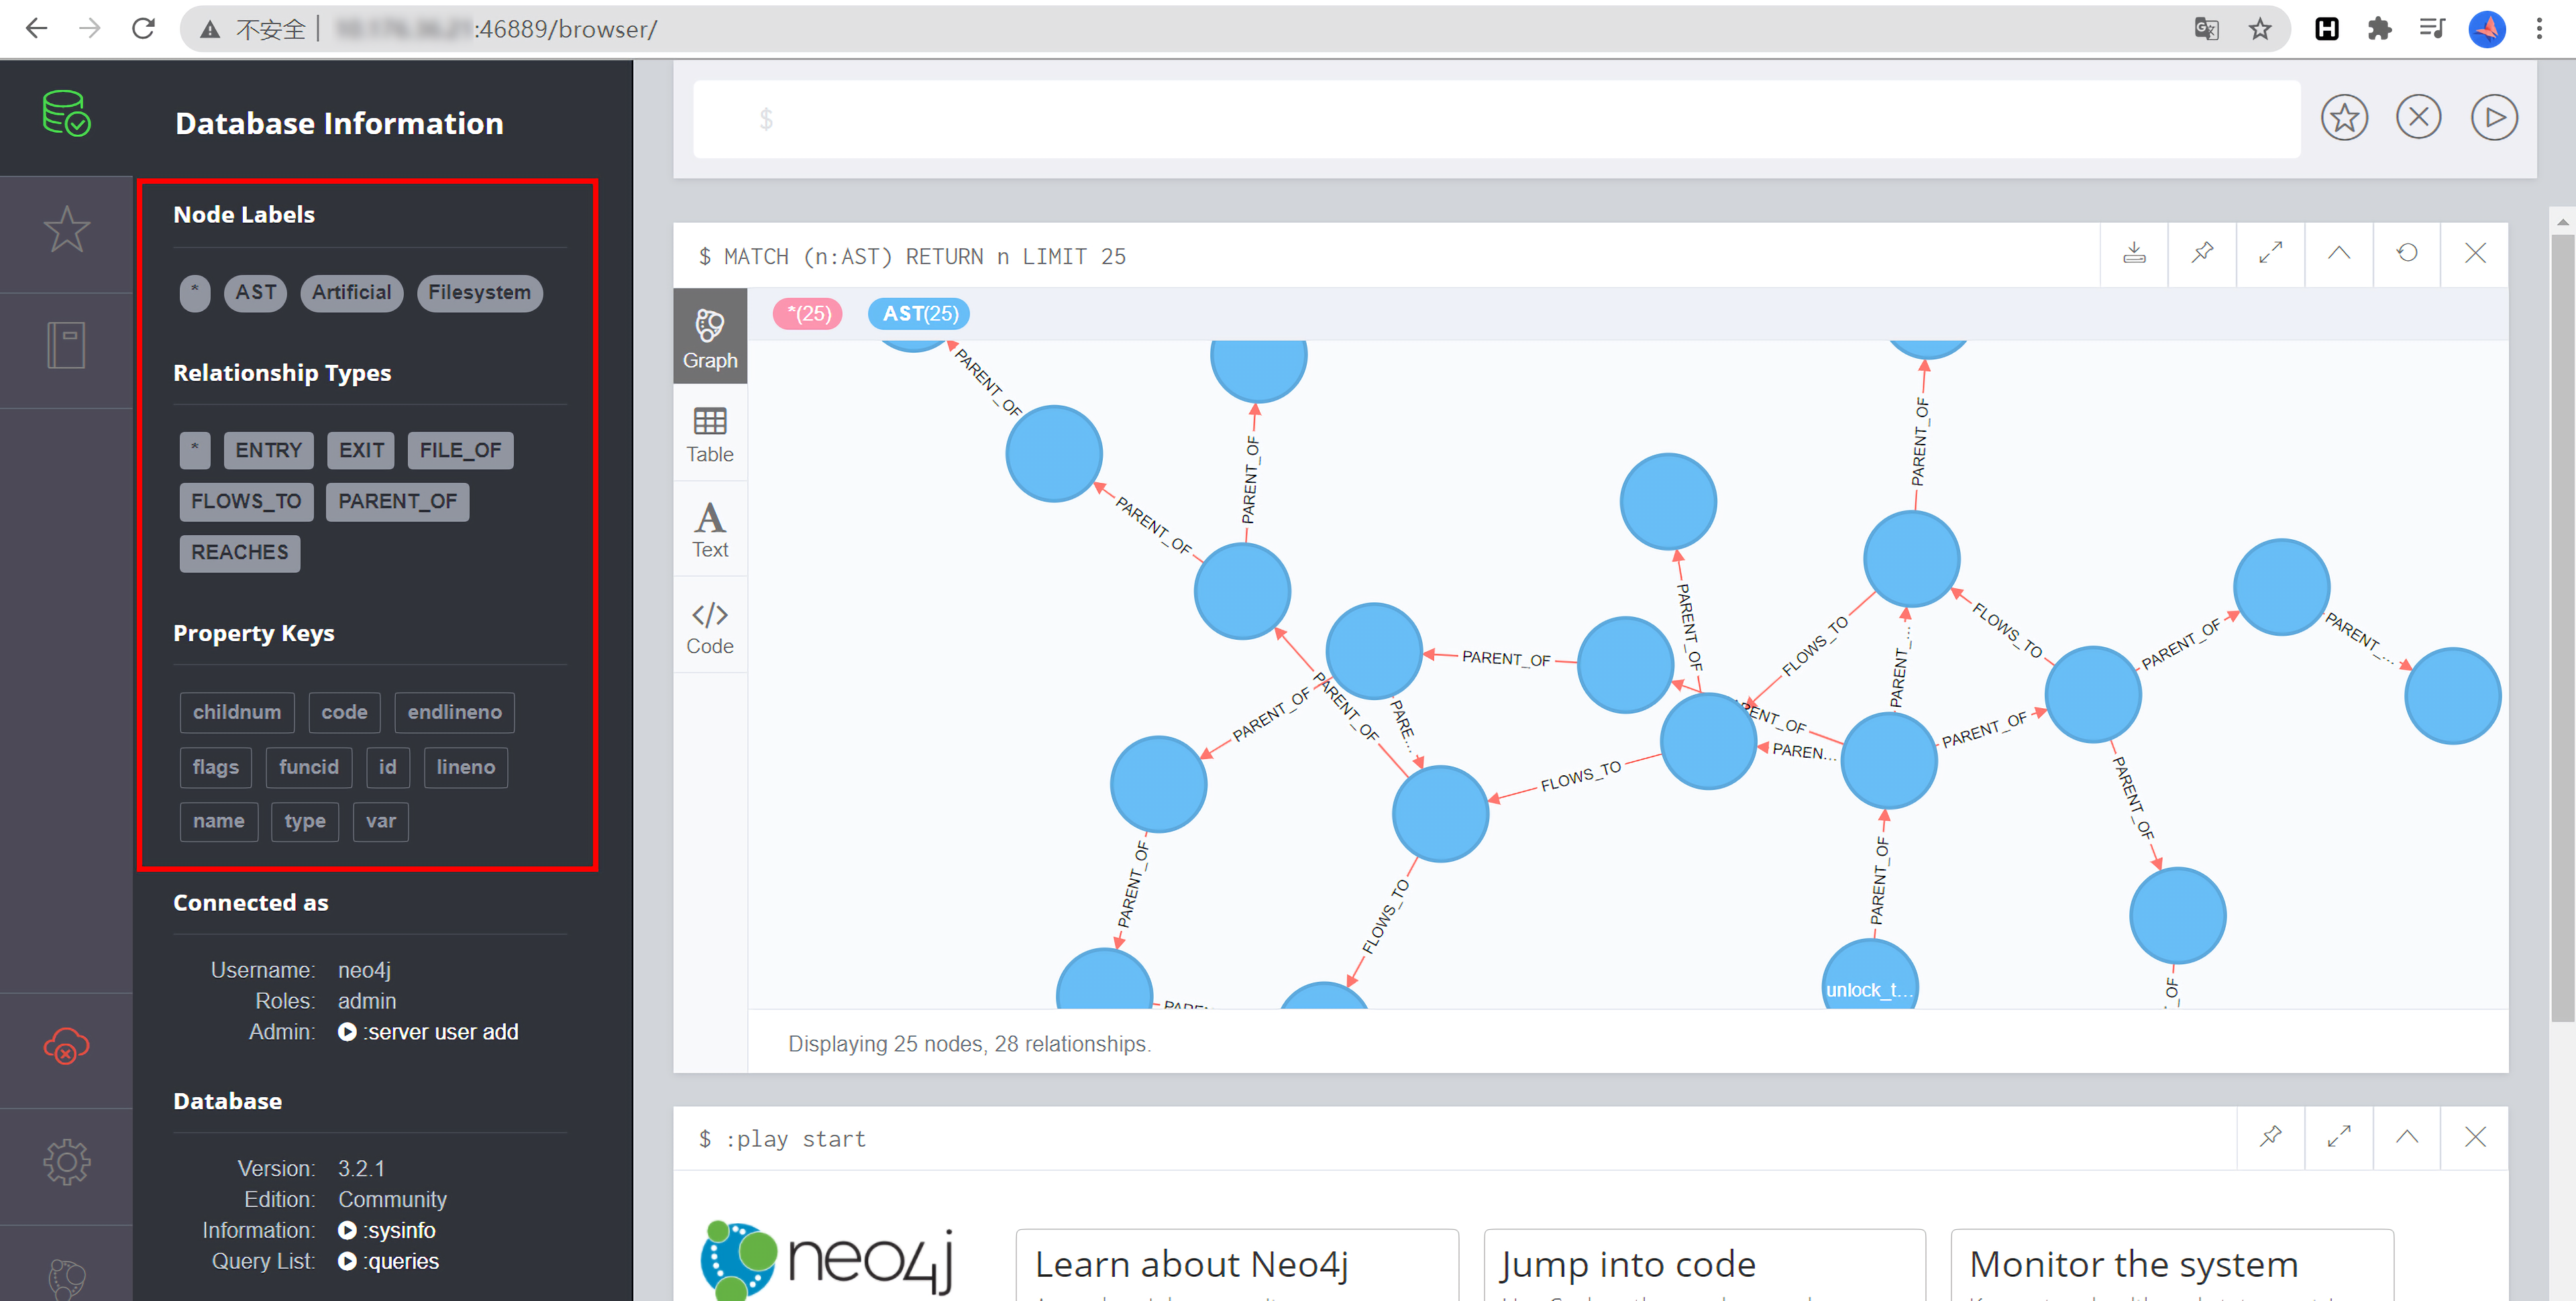
访问 http://your-ip:46889,看到左边有节点存在就说明图数据库的配置一切正常,就可以开始进行查询了:
PHP-Parser安装
下面的PHP-Parser及其可视化工具其实可以不必安装,但是如果有需要的话可以使用。
PHP-Parser需要使用composer安装:
1 | composer create-project --prefer-dist nikic/php-parser php-parser |
在使用时需要将autoload文件包含进来:
1 | require("./vendor/autoload.php"); |
其他使用见项目中的demo文件即可。
php-ast-visualizer安装
在安装之前,需要先安装dot 程序:https://graphviz.org/download 。
然后composer安装即可:
1 | composer install |
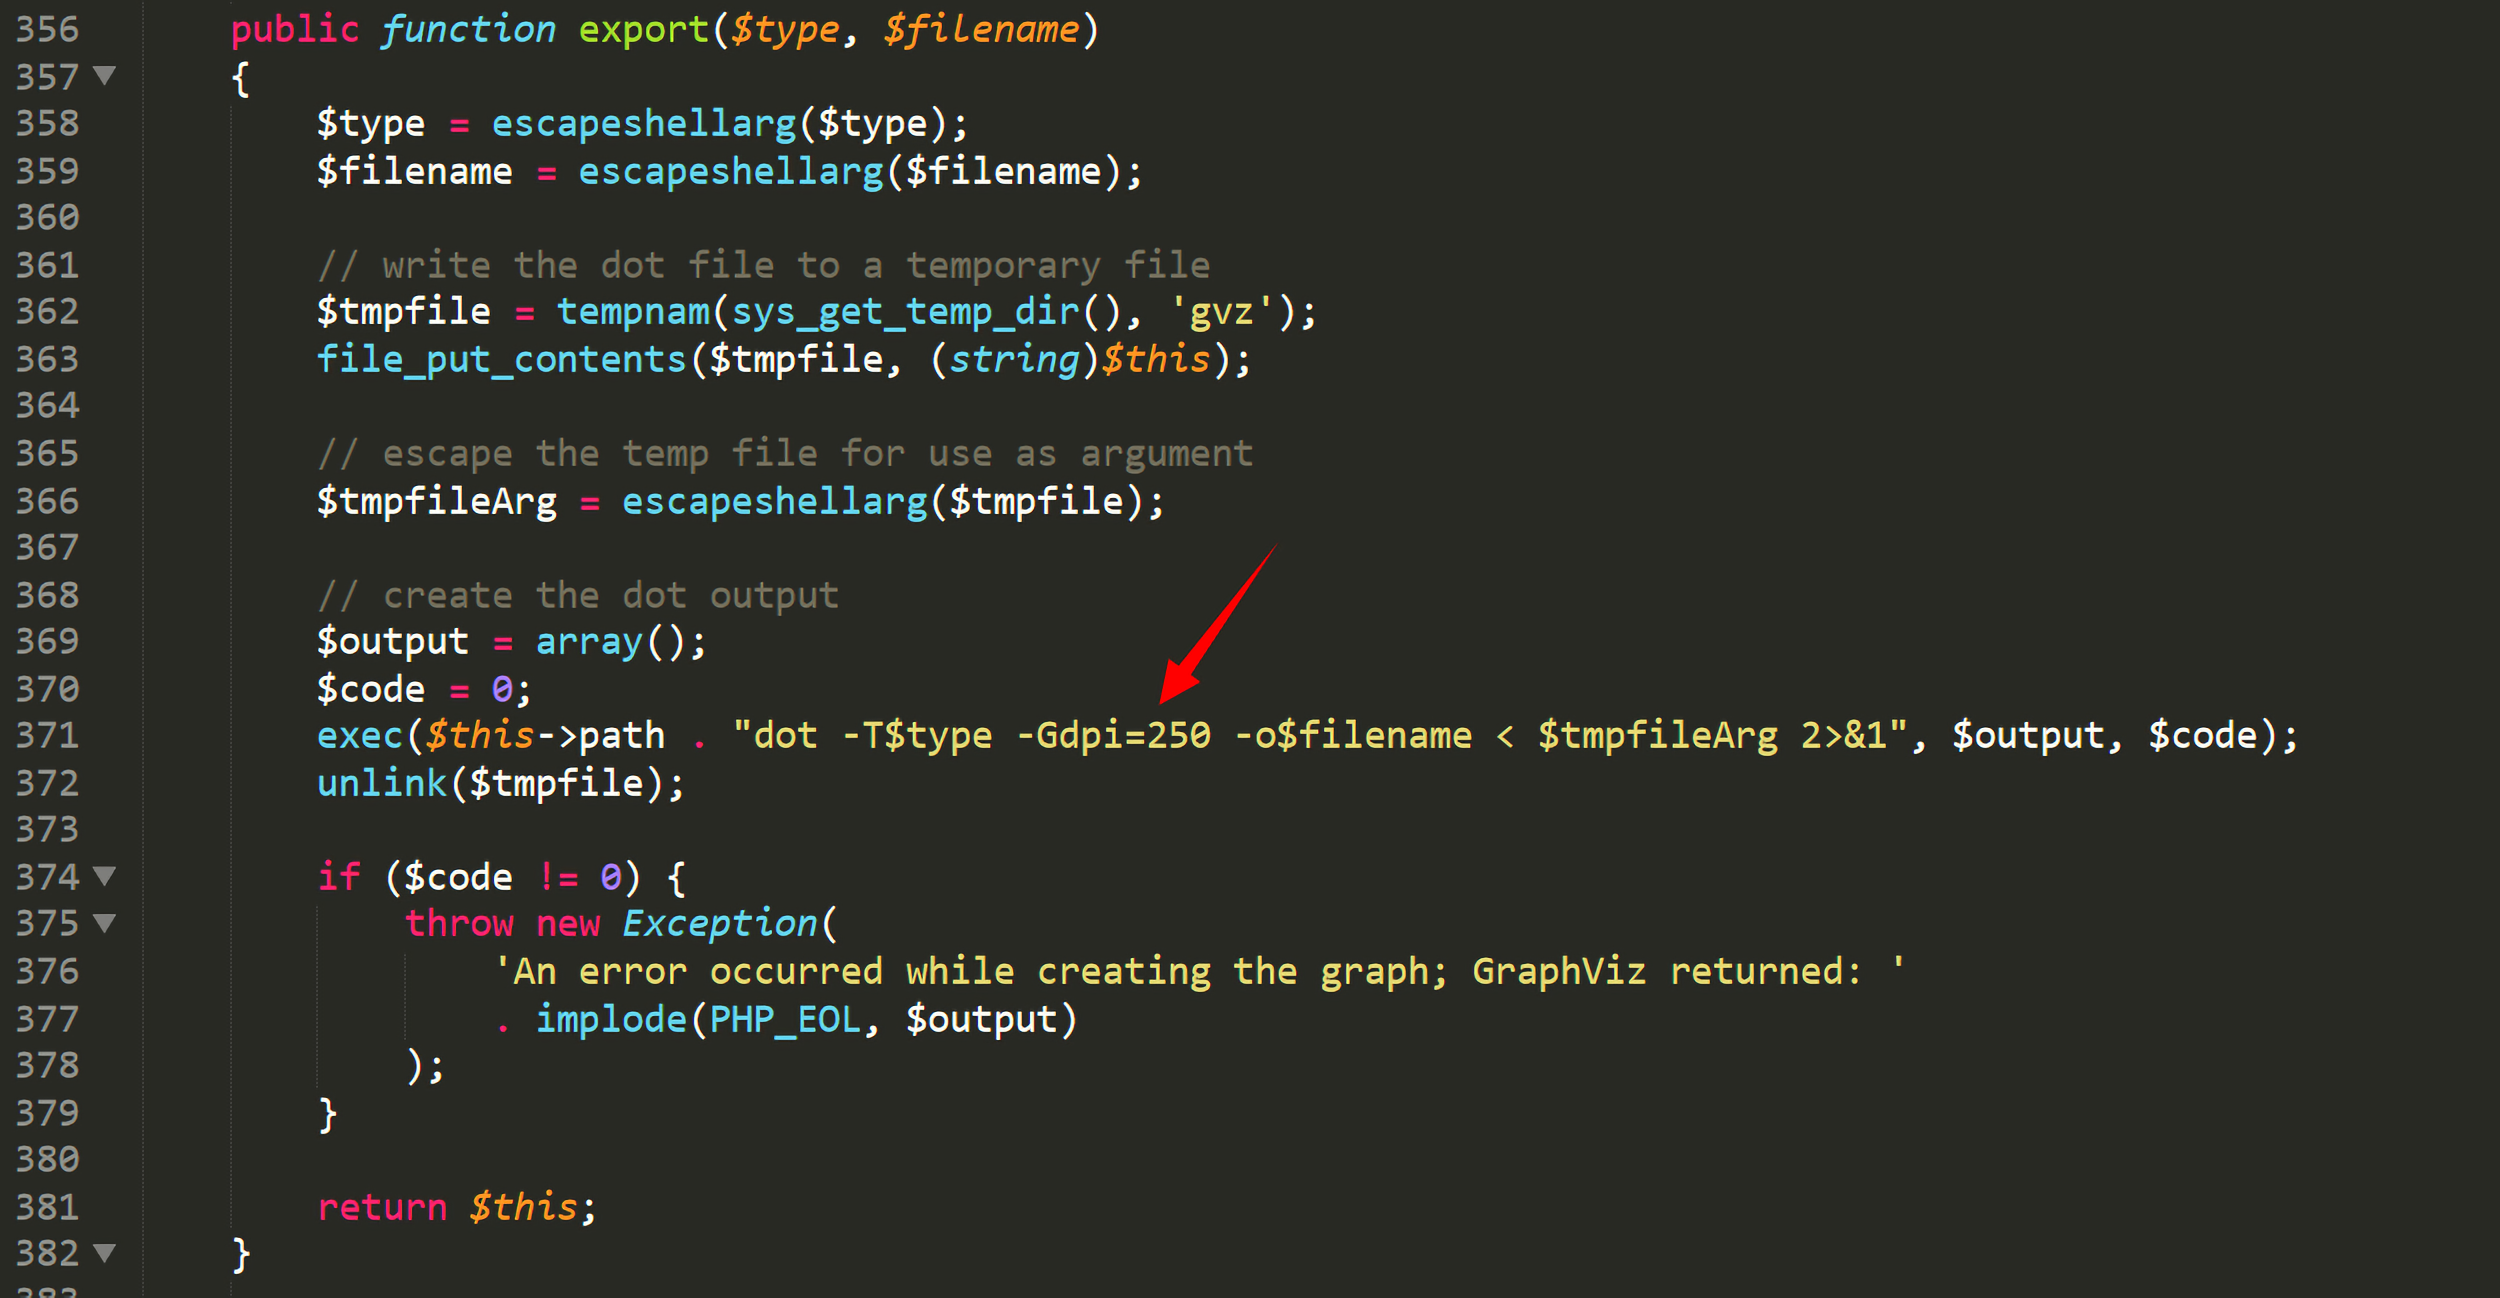
直接使用默认的配置生成的ast图清晰度不够,看到这篇文章https://qa.1r1g.com/sf/ask/90076941/ 发现可以通过dot命令来修改分辨率,所以可以修改 php-ast-visualizer/vendor/phpdocumentor/graphviz/src/phpDocumentor/GraphViz/Graph.php 文件中的export()函数,具体的分辨率大小可以根据自己的需要调节,这里是dpi=250:
1 | exec($this->path . "dot -T$type -Gdpi=250 -o$filename < $tmpfileArg 2>&1", $output, $code); |
除此之外,还可以生成svg图像,添加一个函数export_svg():
1 | public function export_svg($type, $filename) |
小结
因为装这个环境费了比较多的时间,所以记录一下踩过的坑,防止后面再碰到此类问题。